The Right Way To Fertiliser Your Lawn

Fertilising your lawn the right way can help improve its appearance while keeping it healthy. While fertilising is quite simple, there is a bit more to it than simply chucking it out or spraying it on.

When To Fertilise

When fertilising, you want to make sure you are applying it at the right time of year to get the most out of your fertiliser. Most common warm-season varieties like buffalo, couch, kikuyu, and zoysia love a feed around mid-spring when the lawn starts to grow again after winter. Another feed in summer around Australia day. Then again in Autumn after Easter or Anzac Day to help give the lawn a boost heading into the cooler months.

There are 2 main types of fertilisers on the market, granular and liquid.

fertilise lawn

Granular Fertilisers

Granular fertilisers are an easy and popular option to use. These fertilisers do take longer to be absorbed but will usually release nutrients over a longer period.

Before application, best to measure out your lawn size to ensure you apply it at the correct application rate. Then check your fertilisers label rate and safety instructions. With granular fertilisers, we recommend using a fertiliser spreader to apply the granules evenly or use a smooth motion when spreading by hand. When applying fertilisers, the most important thing is to evenly cover the area as best you can. We recommend walking up and back, then across in the opposite direction to get the best coverage. Keep an eye out how wide you are spreading the granules out to avoid doubling up on application in areas.

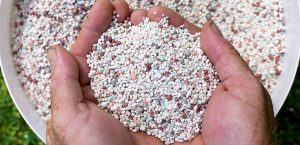
Lawn Solutions Premium Fertiliser is a professional blend of both slow and fast release granules containing all the essential nutrients and trace elements for all lawn types. It has been designed to provide the best results when applied at a rate of 20 to 25 grams per square metre. To calculate your coverage, simply multiply your lawn area (m2) by this rate (20 to 25g).

lawn fertiliser

Shop Online Now

Liquid Fertilisers

Liquid fertilisers work faster than granular fertilisers as are applied directly to the leaf of the lawn and are absorbed quickly. This helps give your lawn a short boost.

Again, before application measure out your lawn size and apply as per your fertiliser’s application rate. When applying your liquid fertiliser, spray your fertiliser evenly by walking in an organised fashion to achieve an even application. Keep an eye out how wide your sprayer is to avoid doubling up on application in areas.

Exceed Liquid Fertiliser is a premium, professional foliar fertiliser designed to bring out the best in any lawn. It can be applied using either a knapsack sprayer, a watering can, or a 2L hose on the sprayer. When applying Exceed with a knapsack use 200-400ml with 7lt-10lt of water for 100m2.

exceed liquid fertiliser

Shop Online Now

Irrigation

After applying your fertiliser, give any hard surfaces a sweep or blow to remove any fertiliser that may have been applied before irrigation. This will help avoid staining to your hard surfaces.

After clearing your hard surfaces, it is time for the final step, watering in your fertiliser. This is an important step to help avoid burning on your lawn. Not all fertilisers need to be watered in, but the majority do. If you are unsure, read your product’s label or check with the product manufacturer. To water in your fertiliser, you can use a hose and sprinkler or time your application just before the rain. One thing to be careful of when applying just before rain is that you are not going to get too much rain as it can wash the fertiliser straight out of the lawn. Around 5-10ml of rain is perfect.

Over the following weeks, you will be able to reap the benefits of a healthy lawn.


As always, if you have any more questions please don’t hesitate to contact us for free expert advice on 1800ALLTURF (1800255873) or 07 5543 8304.

How To Create A Home Putting Green

Are you a keen sports enthusiast and want to practice your putting skills at home? We have put together a couple of tips on how you can create a putting green at home!

Finding the right space

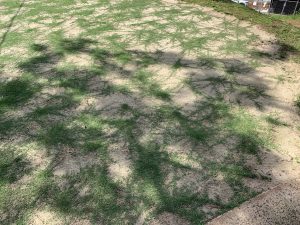
Firstly, check out your front or back yard. You will need an area of between 20-40 square meters that is free from shade.

Turf underlay

Construction is very important. If you get the soil profile correct the green will thrive.

Mark out the area and design of the putting green, remember it doesn’t have to be a circle or rectangle, your design will be unique for your yard. Once marked out remove current turf or vegetation from this area, it is then advisable to remove around 100mm of soil. The growing media for putting green is USGA Sand (high quality, refined sand) or similar.

Then bring in enough USGA Sand or similar to replace 100mm removed plus another 100mm. This extra soil can be used to shape your surface for ball roll and to make the putting green higher than the rest of your yard. After this, then incorporate organic material into the top 50mm of your surface (composted chicken or cow manure is ideal).

Once you are happy with the shape and you have levelled around the edges to blend into the yard you are ready to start thinking about the next stage.

putting green

Choosing your putting green grass

The next step in creating your home putting green is to do some research on grasses that are suitable for putting surfaces, more so in the climate, you live in. Visit your local golf course and ask what varieties they use for their putting greens. Most golf courses use either bentgrass, couch, or zoysia. Some of the newer zoysia varieties are really an excellent option – less pressure from disease, fewer nutrient inputs, and superfine leaf blades for putting. Some of these zoysia varieties are Trinity Zoysia and Primo Zoysia.

golf ball

Planting your putting green

Ideally, you want to plant your green from sprigs or stolons (small pieces of grass that will grow and spread across the surface). To plant your green, you will need around 15-25kg of sprigs to cover a 50 square meter area. Once evenly spread across the surface slightly rake into the soil profile. It is important to keep these sprigs damp for the next 2 weeks or until you start to see green shoots and taking root. It is suggested to use a granular turf starter type of fertiliser weekly for the first 4-10 weeks. The NPK of an ideal turf starter fertiliser is around 12-10-9. At the 6-week mark, you can apply a granular organic fertiliser that will help with the same beneficial humus and moisture-holding capacity.

putting green

The estimated growth in the period will be around 12 -14 weeks based on the timing of planting (spring is ideal). Once you have 50% coverage it would be recommended to start mowing just to remove 1/3 of the leaf blade. This will encourage the grass to grow vertically and cover across the ground. At the 90% coverage stage, it is recommended to top dress with the same sand used in construction. This will help to finish off the surface and give a smooth putting surface.

putting green

Mowing

When mowing your home putting green, we recommend using a cylinder mower to help get a better cut. The more you mow your green, the more the playing surface will tighten and the smoother it will get.

cylinder mower

Fertilising

It is recommended you fertilise the green 3 times a year, once in April, September, and January. It is ideal to use greens grade fertiliser (low cut turf fertiliser) with an NPK 21-1-9. This can be purchased from a professional turf supply company.

With regular mowing and maintenance work, you’re at home putting green will help you up to your golfing skills ready for the course.

home putting green


As always, if you have any more questions please don’t hesitate to contact us for free expert advice on 1800ALLTURF (1800255873) or 07 5543 8304.
Why It’s Important To Aerate Your Lawn

Your grass needs space, below ground, to take in air, nutrients and water. Your lawns’ roots need to ‘breathe’.

Ultimately, aerating your lawn and allowing it to breathe benefits you. A healthy lawn can drop the temperature of your home’s surroundings, saving energy costs. But, aerating also helps to protect your lawn against a lot of common problems due to compaction: drainage issues, bare patches, weeds, dryness, fungal disease, fairy ring

What is aeration?

Perforation of the soil to allow air, water and nutrients to penetrate the grassroots.


Why do I need to aerate my lawn?

Aeration helps the roots grow deeply and produce a stronger, more vigorous lawn. The main reason for aerating is to alleviate soil compaction. Soil compaction limits the number of nutrients and water to penetrate the roots of your lawn.


How do I aerate my lawn? 

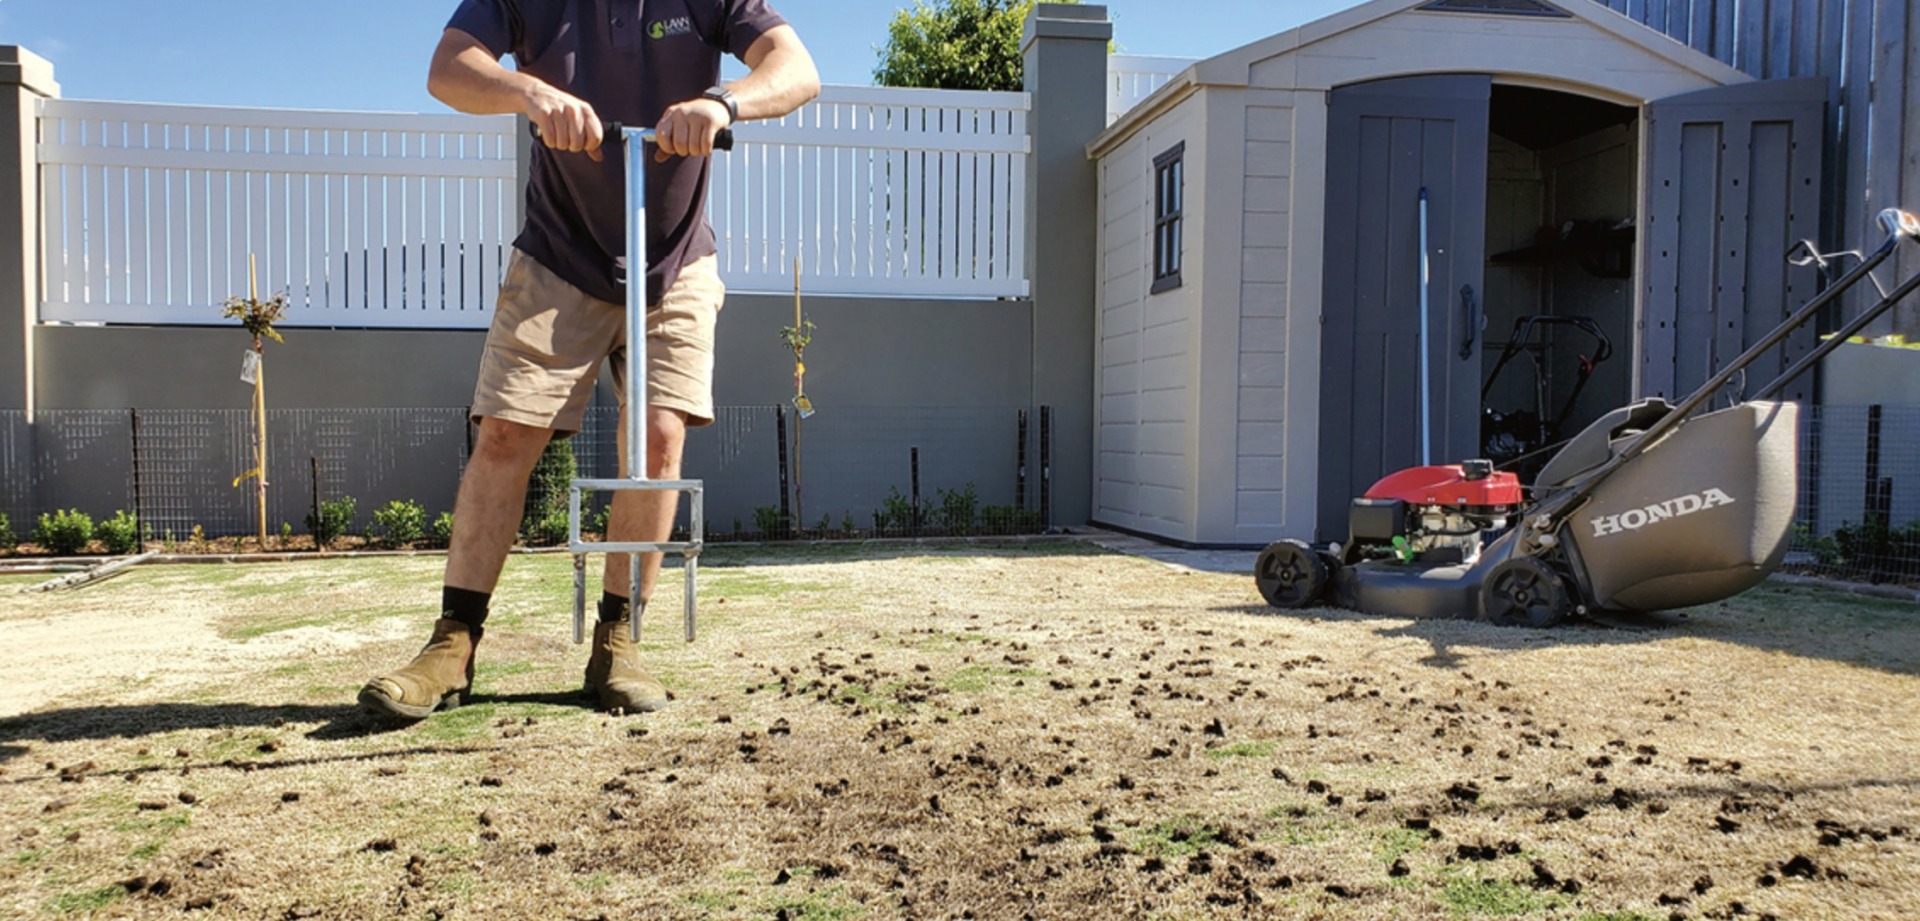
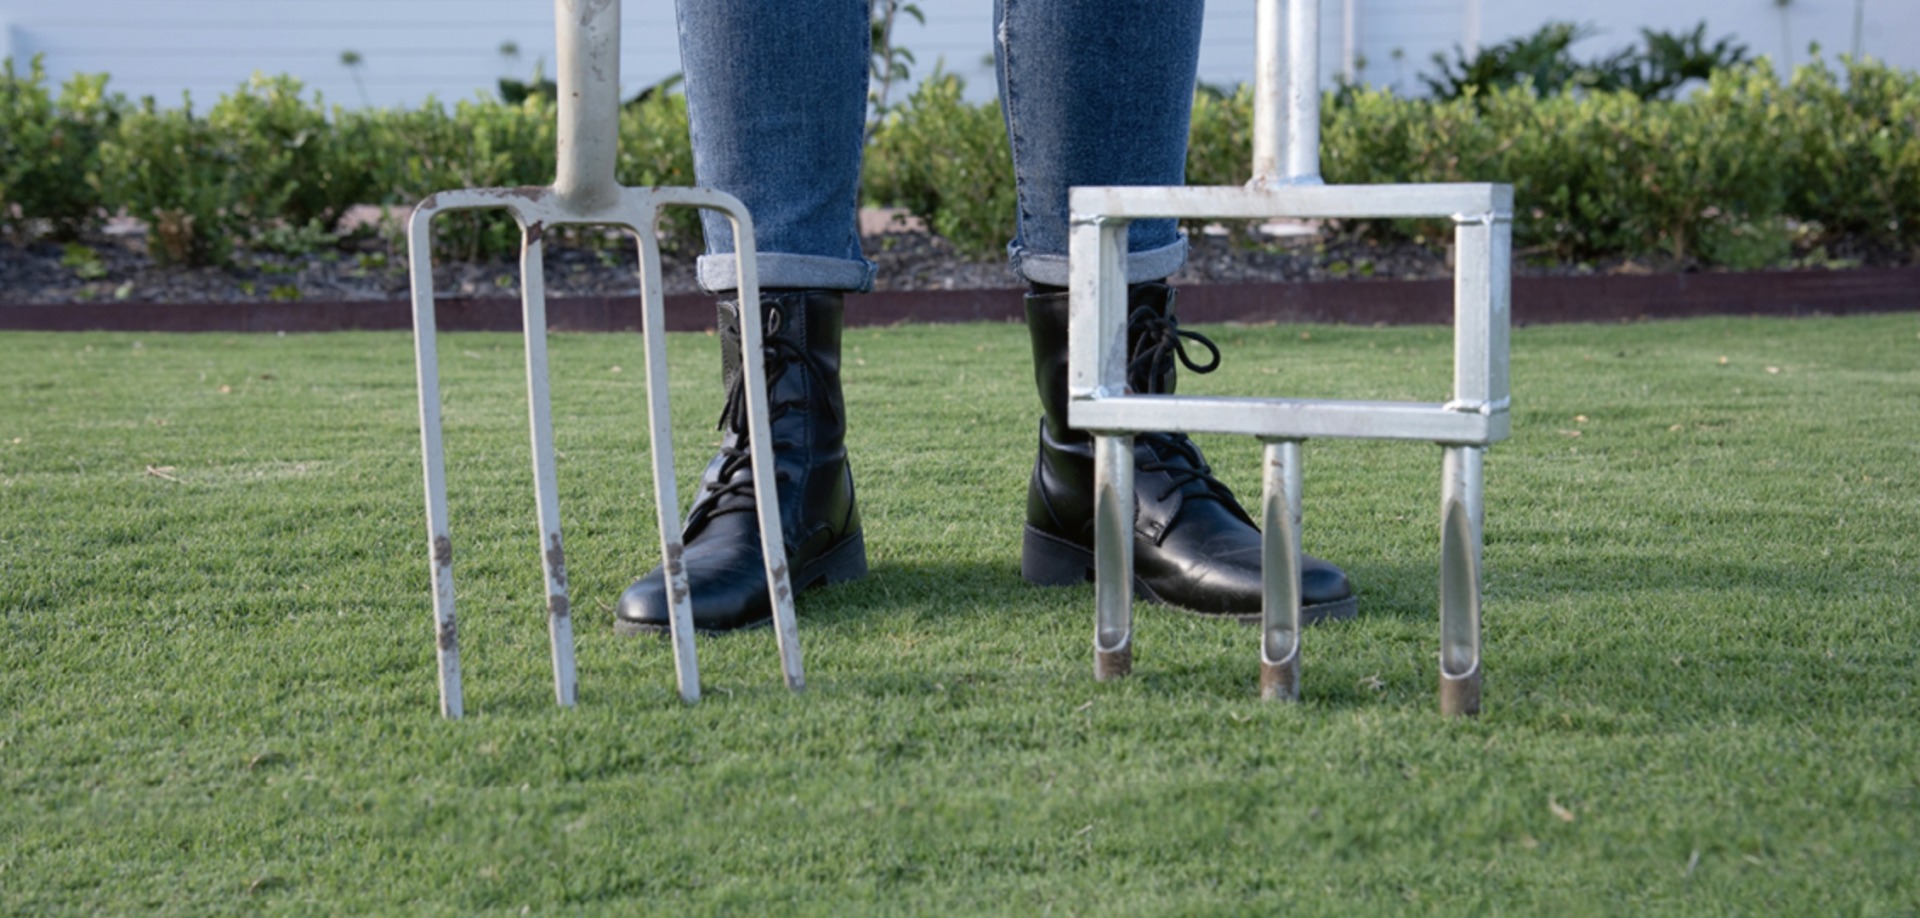
A smaller area of lawn can be aerated manually with aerating sandals (sandals with spikes that aerate the lawn as you walk) or a sturdy garden fork. Simply insert the fork into the lawn and wriggle it back and forth to fracture the soil profile. Aim for a spacing between the holes of around 8 – 10cm. In order to achieve adequate aeration, you may need to go over the area twice in a different direction each time.

aerationaerating

You can hire specialised aerators if you have a large lawn. A spiked roller is also useful for lawn aeration for incorporating lime, gypsum, or coarse sand into the profile to improve drainage or pH.

Unlike regular aeration, where solid tines simply punch holes in the ground, core aeration removes a plug of soil from your lawn at the same time. You can read more about core aeration here.

should I core my lawn
PULLING CORES FROM YOUR LAWN CAN BE BENEFICIAL TO INCREASE OXYGEN, NUTRIENT AND WATER PENETRATION TO THE ROOTS OF YOUR LAWN.

How often should I aerate my lawn?

Different soil types require more frequent aeration. Clay soil compacts easily and should be aerated at least once a year. You can aerate a sandy lawn once a year, or once every two years. In harsher climates, aerating twice a year will encourage turf growth and health.

In areas where there is a high amount of foot traffic, pets or even cars on the lawn, compaction is a common problem. Regular aerating will be important to ensure the ground doesn’t become too hard and help the soil to breathe and the grass to spread.

When should I aerate?

The best time to aerate warm-season grasses, such as soft-leaf buffalo, couch, kikuyu and zoysia are during spring and summer while they are actively growing. You can aerate at any time of the year, but if you do so in the cooler months just keep in mind the grass won’t cover over the aerated holes as it is dormant. Always try to aerate at the same time you are fertilising or performing any other major lawn care operation such as dethatching and top dressing. It is also a fantastic time for aeration after rainfall, as it will make this process much easier.

For cool-season lawns, such as fescue and ryegrass, the same principle applies. With proper care and a lot of water, cool-season lawns can grow all year (with the exception of very cold climates) so you can aerate all year round. Again, keep in mind the absolute best times are when you fertilise or perform any other lawn care and the following rainfall, so soil moisture levels are high.

Aerating is often overlooked, but its importance in allowing air, water and nutrients to get into the soil cannot be overstated.

After aerating in spring is a perfect time to fertilise your lawn.

Lawn Solutions Premium Fertiliser

lawn fertiliser

Test your pH 

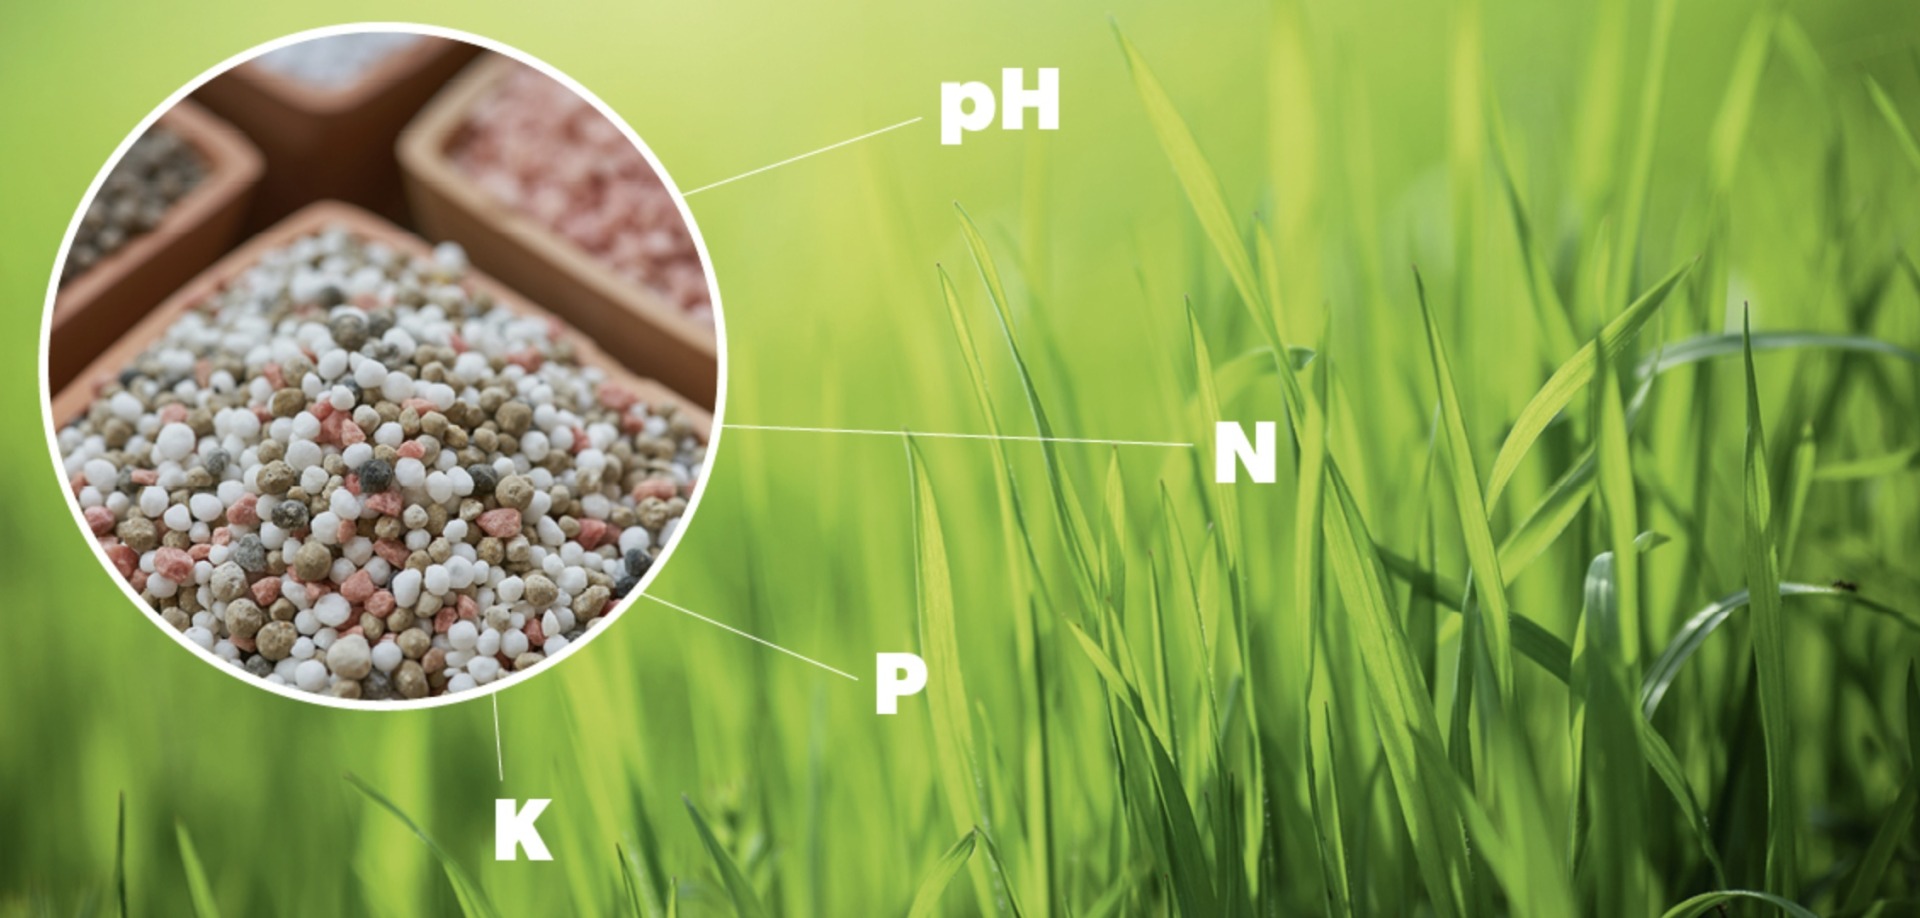
After aerating, it is a good time to test your pH and take action if required. pH affects your lawn’s ability to absorb the minerals and nutrients needed, in order to thrive. A pH that’s less than ideal can mean your lawn isn’t absorbing the minerals and nutrients it needs.

The ideal pH range for your lawn is somewhere between 6 and 7. You can purchase a pH testing kit here at the Lawn Care Store.

If your pH is not where you need it, now is also the time to apply soil additives and conditioners to improve your soil type. A few additives and conditioners are listed below. For the best advice talk to your local Lawn Solutions Centre or closest Lawn Solutions Australia Turf Grower for specialised knowledge.

PH Testing Lime for Healthy Lawns

Tips to improve your soil type:

Lime (calcium carbonate) helps raise pH and neutralise acidic soil.

Gypsum is calcium sulphate dihydrate and helps break down clay soils.

Fertiliser – Because aerating allows nutrients to better penetrate, straight after aerating is a perfect time to fertilise your lawn as well.


As always, if you have any more questions please don’t hesitate to contact us for free expert advice on 1800ALLTURF (1800255873) or 07 5543 8304.

Water Saving Tips For The Lawn And Garden

With the warmer weather well on the way, many of us will start to use more water for our lawns, gardens, and pools. By making sure we are smartly using water, your garden can still thrive, while reducing your water usage!

Only water your garden when it needs it

Regular rainfall is usually enough to meet your lawn and gardens water requirements. If there is an extended period without rainfall your lawn may need water. Your lawn will start to show signs that it needs water when the leaf curls up, is wilting, or losing colour.

Water for longer less frequently

If your garden is needing water, water for longer less frequently. By watering your garden and lawn less frequently for longer, the roots of the plant will be encouraged to grow deeper into the soil base. This will help increase the drought tolerance of your lawn and plants.

grass sprinkler

Water early morning to prevent heat-related evaporation

The best time to water your lawn and garden is early morning when there is no wind and less chance of water loss due to heat-related evaporation. Watering in the mornings is also best to help stop fungal diseases from growing in your lawn and on your plants.

Rainwater tank

Rainwater tanks are a great way to save water. By having your tank collect water from the roof of your house you can have a handy supply of water to use in and around the garden or top up your pool or spa. These tanks can save the rainwater and is store it ready for you to use. There is a range of tank sizes available to suit all houses.

water tanks

Use leak-free hoses with a trigger hose nozzle

Make sure your hose is free from any leaks. A quick tightening of a loose hose connection is often the fix. If the hose or fitting is looking a bit worse for wear it might be time to invest in a new hose or connection. Trigger hose nozzles allow you to have complete control when watering. This helps you avoid spraying out water to surfaces like concrete and footpaths.

Choose hardy drought-proof plants

When looking at putting in new plants, look at plants that are well suited to your natural environment that won’t need much additional care once installed. This can help reduce the amount of watering your plants need.

For drought-resistant turf, you can’t look further than TifTuf Hybrid Bermuda. TifTuf has a superior drought tolerance compared to other turf varieties. It is the only variety to have the Smart Approved WaterMark. This grass can take root in less than 7 days during the growing season, reducing the amount of water needed during establishment. Once established, TifTuf can better withstand longer periods without water than other varieties.

greener environments

Mulch in garden beds to reduce evaporation

Did you know that mulch can reduce evaporation by up to 70%? Mulch also helps stop weeds from growing in your garden beds! Wood chips, pine milch and hard-bark mulch are best for stopping evaporation.

Use mats and covers for pools and spas

Pool mats and covers are great at helping reduce evaporation. Evaporation will usually occur early in the evening when the air cools down and the water is still warm. Simple leaf cover pool blankets can reduce around 40% of evaporation and thicker blankets can reduce evaporation from around 90%. These can help reduce the number of times throughout the year you need to top up the pool with water.

Make sure your sprinkler goes on your garden

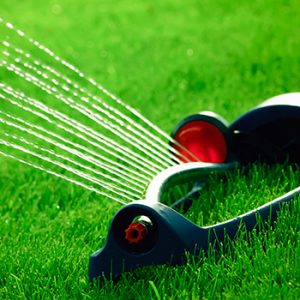
When putting out a sprinkler in the garden, watch over the area to ensure the sprinkler is reaching where you want it to go and not out any concrete paths or on paved areas. This will help increase the amount of water your lawn and garden receive while stopping water from running off.


sprinkler


As always, if you have any more questions please don’t hesitate to contact us for free expert advice on 1800ALLTURF (1800255873) or 07 5543 8304.

How To Dethatch Your Lawn

What is thatch?

You may have noticed your lawn has a build-up of dead organic matter, excessive roots and stems that have developed within the profile of your grass. This is a natural process caused by your lawn producing more organic matter than what can be broken down. Some turf varieties will thatch more than others and over time the height of your lawn can increase and can become quite unsightly.

Dethatching will help to remove this layer so that air and nutrients are able to reach your soil base and can more effectively feed your lawn. Reducing thatch also prevents water log in your roots and allows proper drainage, this will help to prevent the risk of fungal issues.

What do I do?

If your lawn feels ‘spongy’ to walk on, then it may be time for such drastic action.

Here are a few different ways to remove thatch from your lawn…

Mowing low

Getting in a couple of low-mows and gradually reducing the height of your lawn will reduce the thatch layer in your lawn. A good time to do this is towards the end of spring when the lawn is establishing quickly and will have time to recover. Do not do this in the cooler months as you will cause significant damage to your lawn and it will not be able to recover during winter.

Using a dethatching rake

Dethatching using a dethatching rake is one of the easiest and less invasive ways to remove some of this built up thatch. As you are raking the tines dig in and will be pulling the thatch and dead matter out from within the grass. If you have a substantial thatch build up however you may need to look at a more disruptive method.

Specialised dethatching machine (vertical cutter, verticutter, or power rake)

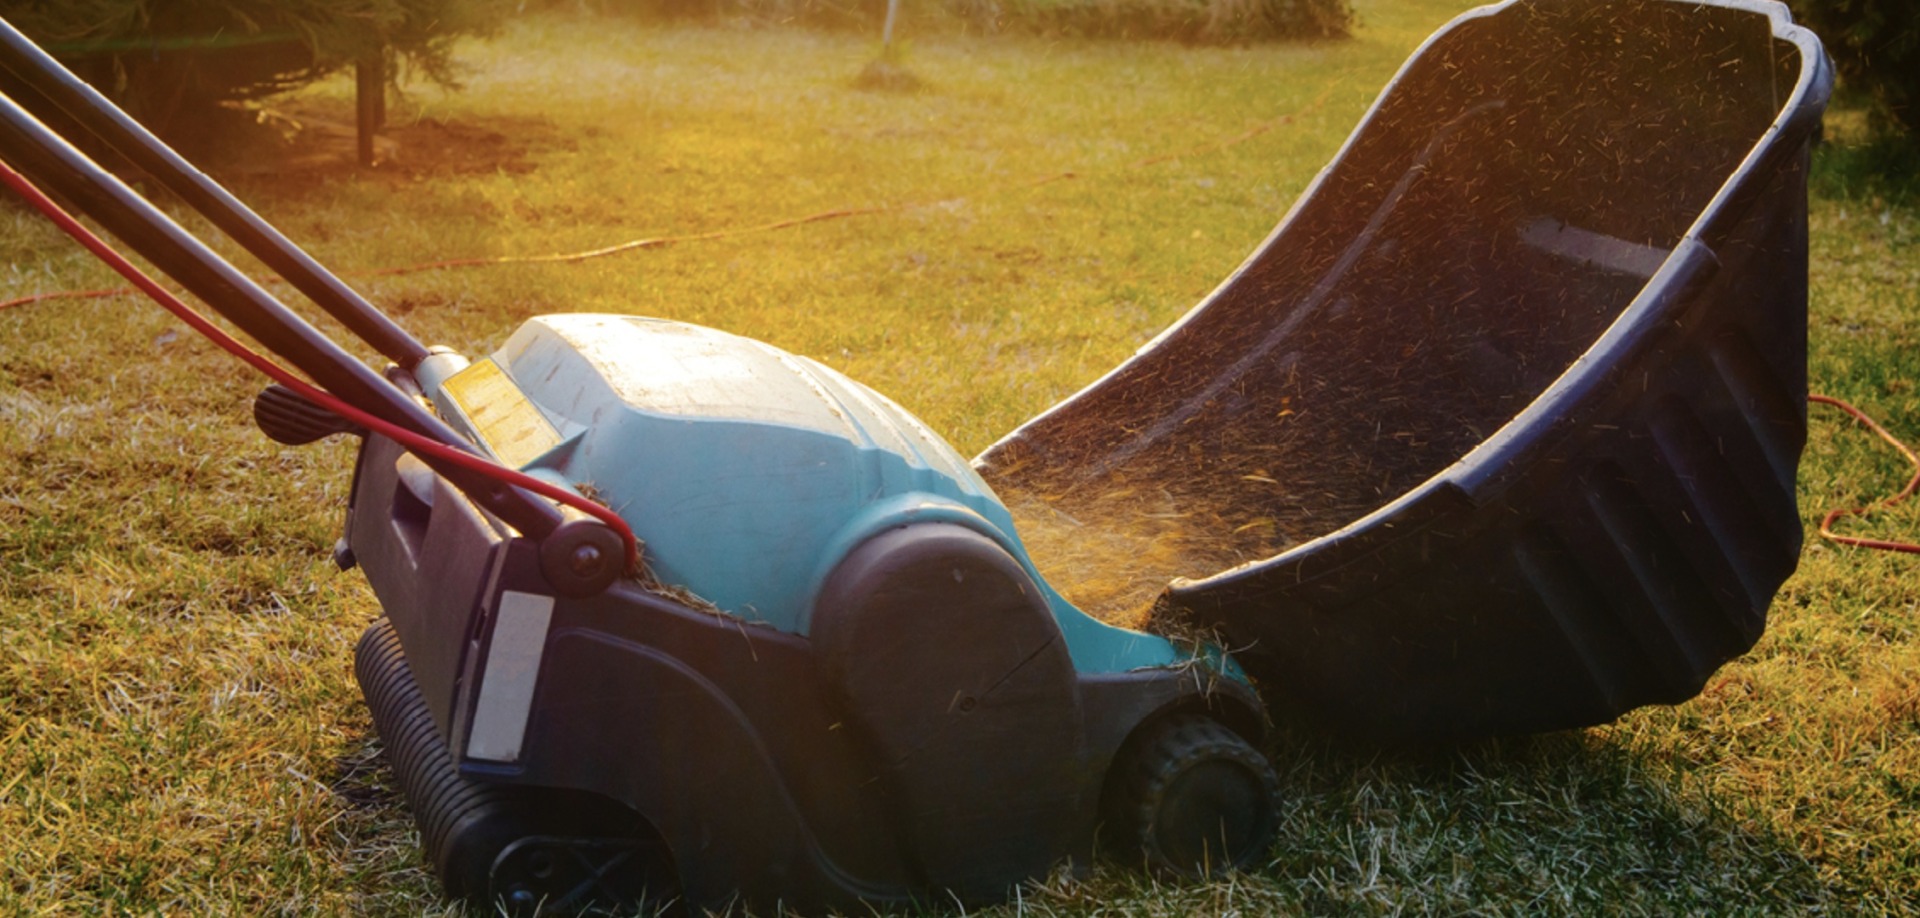
You can also hire or purchase specialised dethatching machines that make light work of removing the thatch layer. This can be a good option if you have a large lawn, or if the thatch layer is especially thick and hasn’t been tended to for a number of years.

Be sure to get the recommended cutting heights for your lawn type and follow the instructions the hire company provides.

After dethatching your lawn, it will be looking in pretty poor shape. Make sure you rake up all the loosened debris and give your lawn a fertilise to help it to recover.

Dethatching should only be done a couple of times a year and works only for warm-season grasses (Buffalo, Kikuyu, Couch and Zoysia) and should be avoided for cool-season types – fescue and the likes as this practice will probably spell the end of your lawn.

Attempting to dethatch your lawn too late into the growing season and your lawn won’t recover over winter, so if you’re unsure, seek some good advice from your local Lawn Solutions Australia turf supplier.


As always, if you have any more questions please don’t hesitate to contact us for free expert advice on 1800ALLTURF (1800255873) or 07 5543 8304.

What Is Core Aeration? Should I Core My Lawn?

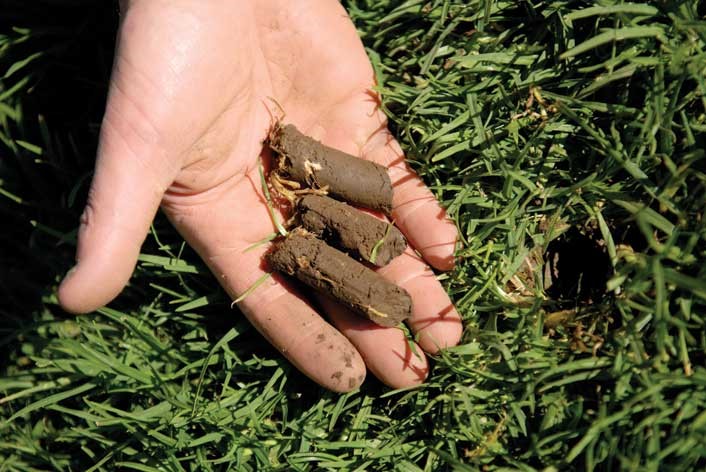
Unlike regular aeration, where solid tines simply punch holes in the ground, core aeration removes a plug of soil from your lawn at the same time. Plug or core aerators do this by using hollow tines that puncture the surface and then pull the plugs from the ground on their way back out.

should i core my lawn

Core aeration can be done with manual hand tools but is much easier to undertake with a specialised coring machine. The primary reason we need to undertake aeration, core aeration in particular, is to alleviate issues related to compaction. Compaction is a common problem for homeowners and can be caused by many factors including; regular foot traffic, driving on your lawn, sport activities and general use of your lawn. What compaction does is prevent oxygen, nutrient and water from being able to penetrate properly to the roots of your lawn, which in turn leads to poor lawn health. Core aeration is a great way to alleviate these compaction issues.

should I core my lawn
PULLING CORES FROM YOUR LAWN CAN BE BENEFICIAL TO INCREASE OXYGEN, NUTRIENT AND WATER PENETRATION TO THE ROOTS OF YOUR LAWN.

After core aeration, you will be left with lots of holes through the lawn where the plugs were removed, and the cores will be left behind on the surface of your lawn. These cores will breakdown over a couple of weeks and can be helped along with irrigation. If you don’t like the appearance and you want to break them down quicker, you can rake across them with the back of the rake, breaking them apart and allowing the dirt to fall back into the holes. Mowing over the plugs will also help break them apart and spread the dirt back into the profile. You can remove the plugs completely from your lawn if you prefer, but you will only be removing nutrients that would be much more beneficial put back in your soil profile.

Make sure you only core aerate when your grass is actively growing during the warmer months, so it can recover quickly. The best time to use a core aerator is when the soil is hydrated but not overly saturated with water. When the soil is dry it will crumble inside the tines, preventing proper removal of the cores from the ground. On the flip side, if the soil is too wet it will lodge itself inside the tines.

After coring your lawn is a great time to top dress with washed river sand. The sand will fill the holes and enable air and water to penetrate due to its free-draining, open structure.


As always, if you have any more questions please don’t hesitate to contact us for free expert advice on 1800ALLTURF (1800255873) or 07 5543 8304.

Couch And Buffalo

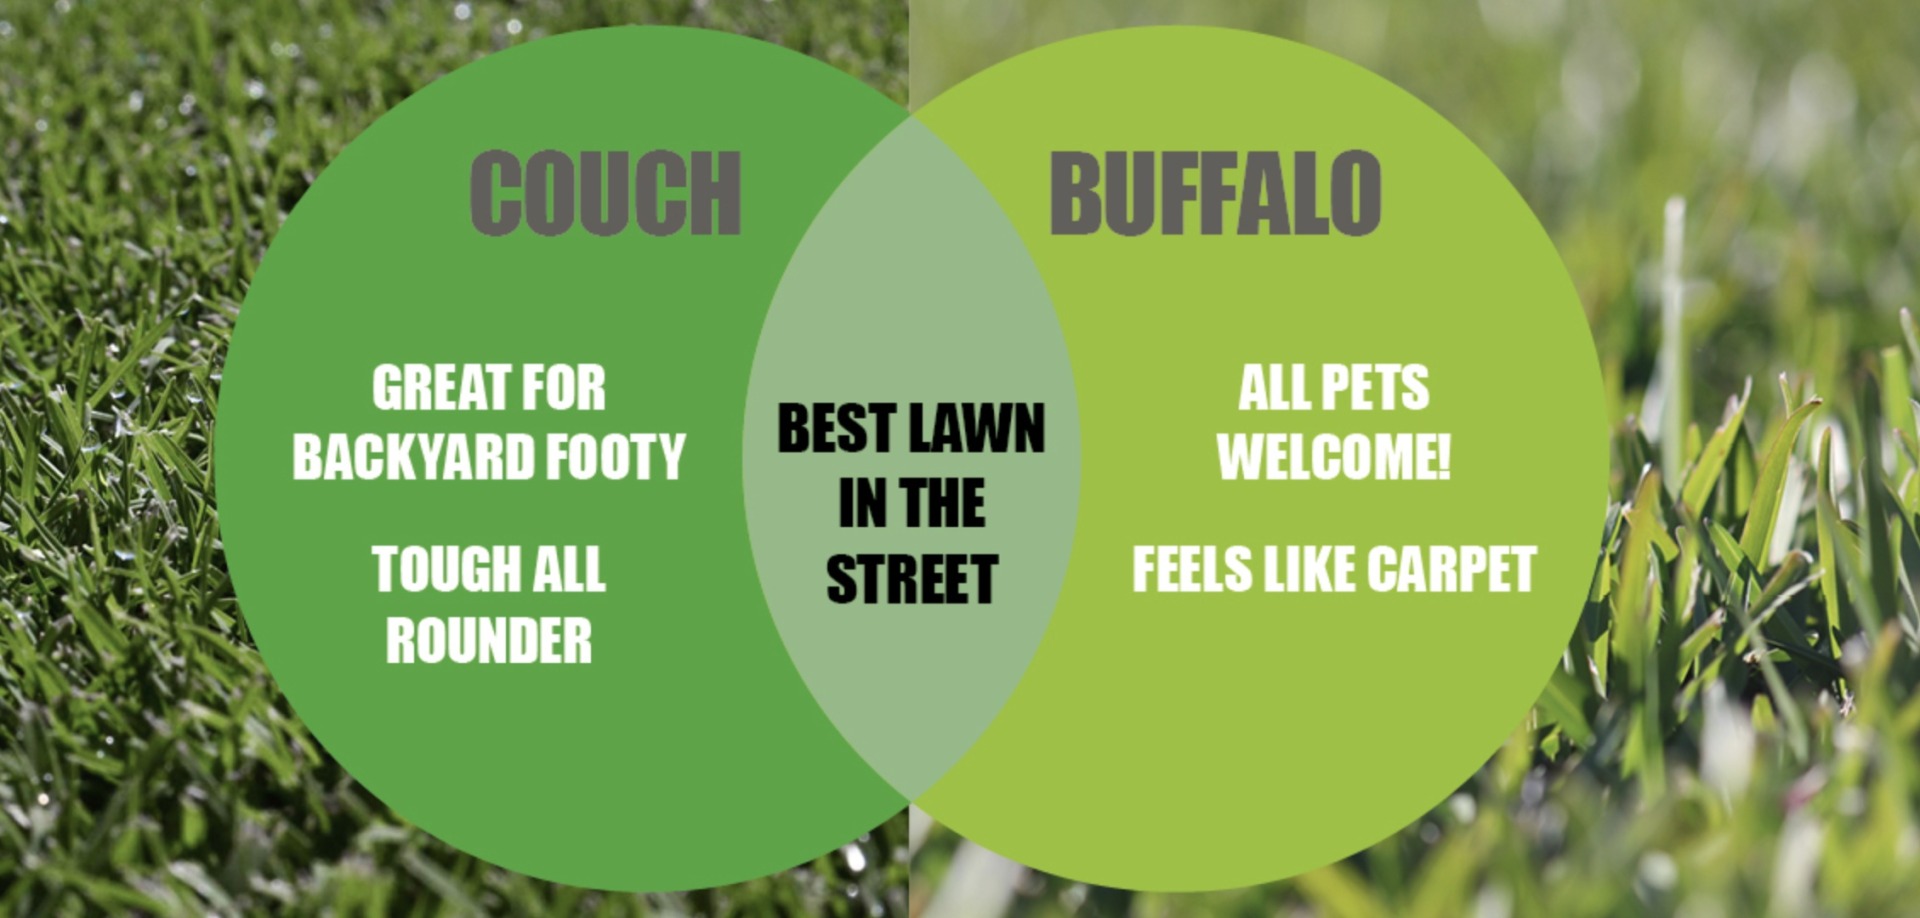
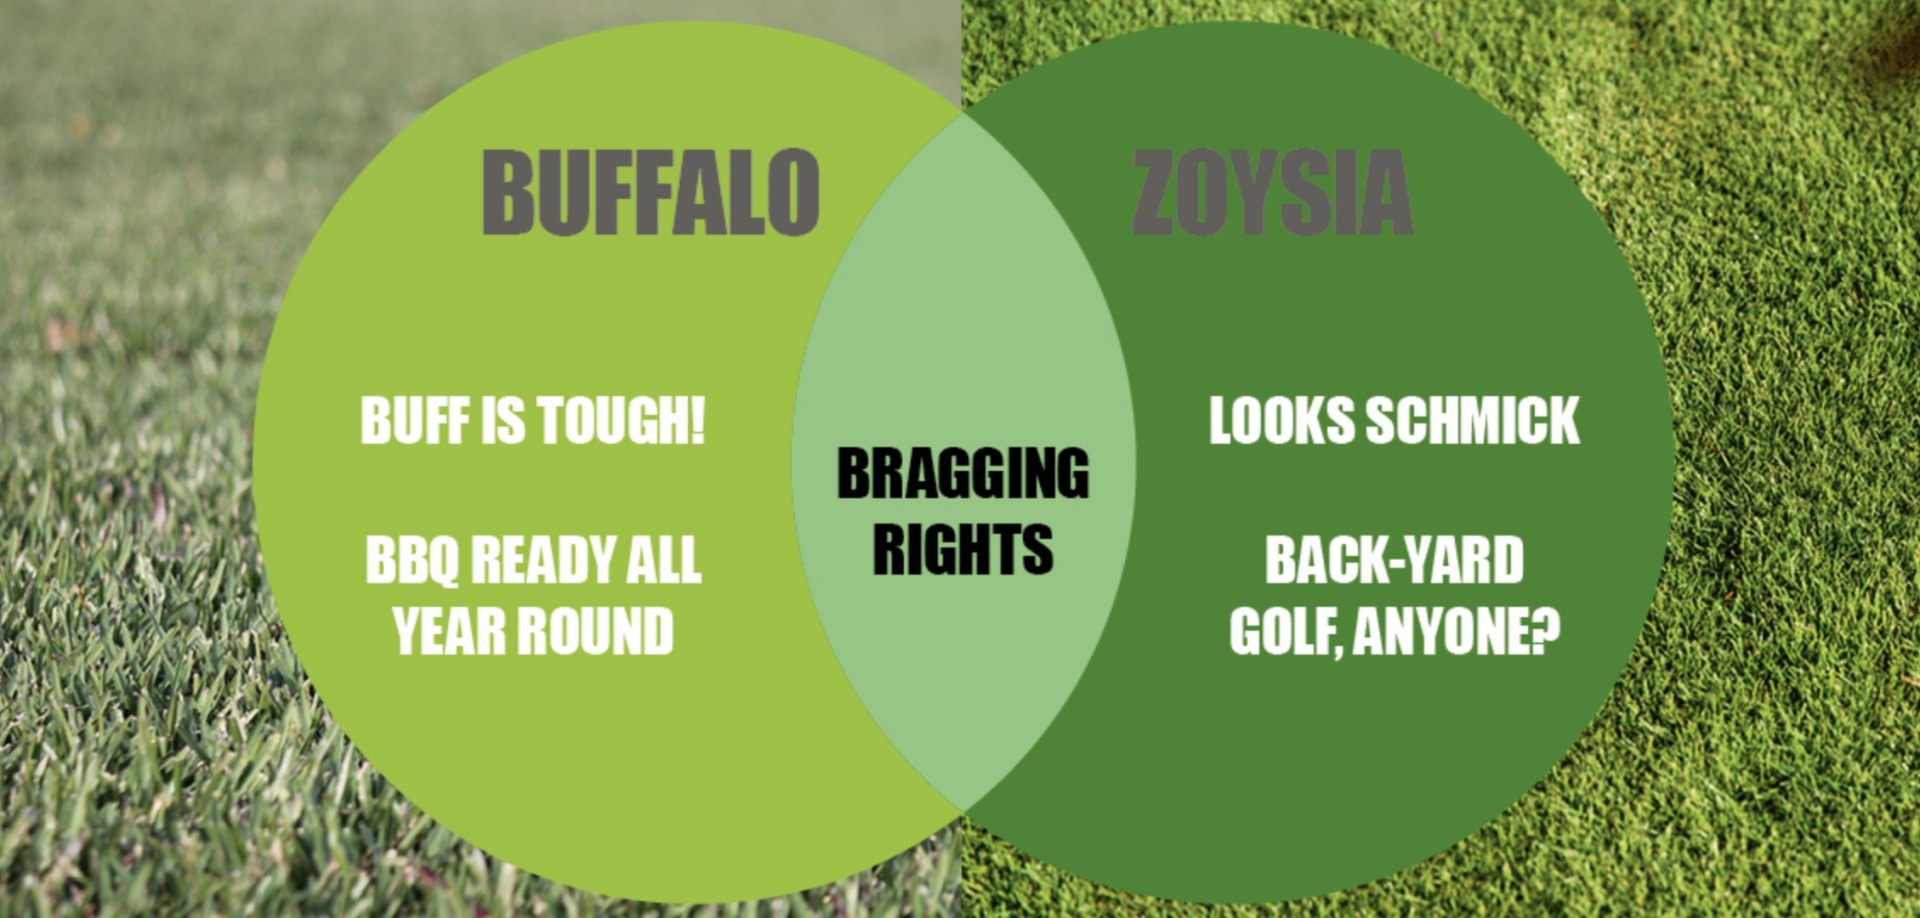
Both Couch and Buffalo grasses are great performers, but how do you know if one variety is better suited to your area? In this blog, we look at the key characteristics of both couch and buffalo grasses to help you choose the right variety for your area.

Buffalo Grass

Buffalo grass is a warm-season grass, native to North and South America, parts of Africa, and the Caribbean. Most buffalo varieties on the market in Australia are soft leaf buffalo.

Buffalo grasses have a broadleaf and only have above-ground stems known as solons to establish from.

Couch Grass

Couch grass (sometimes called Bermuda) is a warm-season grass that is native to most areas of the eastern hemisphere. This grass will have a fast growth rate and is known to be highly drought and wear tolerant.

Couch grasses have a fine leaf. This grass grows from both above ground and below ground runners with a very strong growth habit.

Our Top Pick For Buffalo Grass

Sir Walter DNA Certified Buffalo has been born and bred right here in Australia and has stood the test in time. Sir Walter DNA Certified will grow in full sun, in shade, is low maintenance, and has a high wear tolerance, great with pets and kids. This grass is soft to touch, feels great underfoot while looking fantastic!

Sir Walter Buffalo DNA Certified turf

Our Top Pick For Couch Grass

TifTuf Hybrid Bermuda has a superior drought tolerance, is tough, and has a speedy recovery if damaged. TifTuf has a beautiful soft fine leaf, is well suited to full sun areas, is very drought tolerant, is great for use in high wear areas. This grass is a great choice for the home lawn whether you are wanting to keep an immaculate lawn or need grass to keep up with the pets and kids!

Shade Tolerance

Buffalo grasses have a broader leaf that can absorb more sunlight than other varieties. This helps make buffalo one of the most shade tolerant turf types, needing a minimum of 3-4 hours of direct light to thrive.

Most couch grasses have a finer leaf and love full sun areas. Couch needs a bare minimum of 5-6 hours of direct light to perform well.

grass in shade

Wear Tolerance

Wear tolerance does look at a few characteristics of the grass. These are how much traffic an area can handle before it gets damaged and how quickly it can repair itself if damage does occur.

Buffalo grasses can handle a good amount of traffic as they have very robust and hardy above-ground runners (stolons). However, they will be a bit slower to repair than other varieties like couch and kikuyu as the grass needs to spread back over the area with its above-ground stolons.

Couch grasses are too able to handle a good amount of traffic and have a fast-repairing nature. Their fast-repairing nature comes from having both above and below ground stolons to repair themselves from.

dog lawn

Mowing

When mowing both couch and buffalo it is best to never remove more than one-third of the leaf blade with each mow unless dethatching. This will help avoid causing any extra stress to the lawn.

Buffalo grasses are best mown between 20 to 60mm, a bit higher throughout winter and shorter throughout the warmer months. As buffalo is a warm-season variety it will need more frequent mows during the warmer months. In the cooler months, it will slow down in growth and may only need a mow once every few weeks.

Couch grasses do have a fast growth habit and will require more frequent mowing than buffalo varieties in the warmer months. It can be mown as short as 4mm or let to grow out to 36mm. Couch too is a warm-season variety, needing frequent mows in the warmer months.

Lawn Mowing ?ÛÒ Getting the Basics Right

Irrigation

Both couch and buffalo grasses do have a good drought tolerance. Once a lawn is established you should only need to water the lawn when it needs it. If you do need to irrigate, give the lawn a good soaking for around 30 mins. Once established less frequent watering’s for longer is usually best. This will help encourage your lawn to grow its roots deeper into the soil, improving its drought tolerance. Signs that your lawn needs water include wilting or drying out leaves. Buffalo grasses will also have a curled leaf.

TifTuf Hybrid Bermuda is an extremely drought tolerant couch variety, requiring considerably less water to maintain its appearance. TifTuf is also the only grass in Australia to be awarded the Smart Approved WaterMark for its low water requirements.


As always, if you have any more questions please don’t hesitate to contact us for free expert advice on 1800ALLTURF (1800255873) or 07 5543 8304.

Buffalo And Zoysia

With so many different types of grass available it can be difficult to know which one is right for you, your home, and your family. In this blog, we take a close look at both buffalo and zoysia grasses to help you find your perfect lawn.

Buffalo Grass

Buffalo grass is a warm-season grass, native to North and South America, parts of Africa, and the Caribbean. Most buffalo varieties on the market in Australia are soft leaf buffalo.

Buffalo grasses have a broadleaf, and only have above-ground stems known as solons to establish from.

Zoysia Grass

Zoysia is a warm-season grass native to Southeast Asia and the Pacific region. There are 3 main types of zoysia’s, Zoysia Macrantha, Zoysia Japonica and Zoysia Matrella.

Zoysia grasses have a relatively fine lead of up to 5mm wide and are spread by both above and below ground rhizomes and stolons.

Our top pick for buffalo grass

Sir Walter DNA Certified Buffalo has been born and bred right here in Australia and has stood the test in time. Sir Walter DNA Certified will grow in full sun, in shade, is low maintenance, and has a high wear tolerance, great with pets and kids. This grass is soft to touch, feels great underfoot while looking fantastic!

Sir Walter Buffalo kid friendly grass

Our top pick for zoysia grass

Sir Grange Zoysia is a Zoysia Matrella that has a stunning fine leaf that has a beautiful dark green colour. It has a slow growth habit, can be mown short or left unmown, loves full sun and when once established has an excellent shade tolerance. Sir Grange has a densely matted leaf, great for that bowling green look and show garden.

Zoysia turf in Australia - Sir Grange

Shade Tolerance

Buffalo grasses have a broader leaf that can absorb more sunlight than other varieties. This helps make buffalo one of the most shade tolerant turf types, needing a minimum of 3-4 hours of direct light to thrive.

Zoysia grasses have a much finer leaf and do need more sunlight than other varieties like buffalo. Most zoysia varieties need around 5 hours of direct sun. Sir Grange Zoysia does have a higher shade tolerance than other varieties once established, needing a minimum of 3-4 hours of direct light.

Wear Tolerance

Buffalo grasses can handle a good amount of traffic as they have very robust and hardy above-ground runners (stolons). However, they will be a bit slower to repair than other varieties like couch and kikuyu as the grass needs to spread back over the area with its above-ground stolons.

Zoysia grasses do also have a good wear tolerance. But as zoysia grasses stolons and rhizomes both do grow slower than other grasses they can take longer to repair once damaged.

dog lawn

Mowing

When mowing both couch and buffalo it is best to never remove more than one-third of the leaf blade with each mow unless dethatching. This will help avoid causing any extra stress to the lawn.

Buffalo grasses are best mown between 20 to 60mm, a bit higher throughout winter and shorter throughout the warmer months. As buffalo is a warm-season variety it will need more frequent mows during the warmer months. In the cooler months, it will slow down in growth and may only need a mow once every few weeks.

Zoysia grasses, Zoysia Matrella have a leaf blade that contains a high silicon content, making the leaf very strong. When mowing it is best to ensure your mower blades are sharp to help prevent tearing of the leaf. Zoysia’s are best mown between 5-50mm but can also be left unmown. As zoysia grasses are warm-season grasses, they will need to be mown more frequently throughout the warmer months.

cylinder mowers

Irrigation

When installing both buffalo and zoysia, you will need to keep the water up to the lawn, so its roots stay damp while avoiding the turf from becoming waterlogged and drying out. Once established you should only need to water the lawn as it needs. You should be able to tell if the lawn does need water if the leaves begin to wilt or dry out. Once established less frequent watering’s for longer is usually best. This will help encourage your lawn to grow its roots deeper into the soil, improving its drought tolerance.


As always, if you have any more questions please don’t hesitate to contact us for free expert advice on 1800ALLTURF (1800255873) or 07 5543 8304.
Getting To Know Charlie Albone

Charlie Albone, landscaper designer and TV presenter knows a lot about lawns and gardens. But he wasn’t always involved in gardening and greenspace, he’s dabbled with a bit of painting and pouring pints as well!

The Lawn Solutions team recently caught up with Charlie to learn more about his story, plus he shares some insider tips for the garden.

Charlie first started getting into the landscaping at 18 while working in the UK. He was trying to save enough money working as a painter during the day and in a pub during the evening so that he could travel to Australia. During this time Charlie was working a 60-hour week for just 4 pounds an hour! When Charlie was on his way to work at the pub one night, he saw a car accident where a drunk driver had cut across the road and collided with the pillars of a large country house. After this, the driver then sped off. Charlie went to the house to see if they needed help. While talking with the owner he was offered a gardening job on the weekends. This then took Charlie’s already busy work week to a whopping 75 hours! “I remember the moment I fell in love with gardening.” This moment was when the owner of the property took him to an area of the garden where Snakeskin Fritillary was coming up on the lawn, “it took my breath away.”

From here Charlie Albone has been able to try most things in landscaping, maintenance, construction, and design. “I love how my business incorporates all aspects of these!”. Charlie has worked on so many amazing projects. “I loved both Chelsea Flower show gardens, especially the first one dedicated to my late father”. Charlie has also worked for the Shangri La hotel in Singapore. “It was a great project we designed and flew over to install in the lobby”. Charlie has loved many of the private projects he has done too. He tells us that he has a passion for “creating spaces that change the way families live and connect.”

In Charlie’s own backyard he has recently installed a new TifTuf Hybrid Bermuda lawn “I love fine leaf grasses and TifTuf is so hard-wearing it was a no brainer with two very active boys”. Charlie’s lawn care routine is currently all about the establishment. “For now, I’m keeping the water up to it and staying off it as much as possible. I’ll give it a cut soon and slowly bring the height down, to maintain it at a low level.” He loves his cylinder mower. “It has a certain charm to it while delivering great results, nothing beats a stripy lawn.” Any top tips for lawn care Charlie? “Mow more remove less.” This way you will prevent damage and stress, creating a much healthier lawn.

When creating formal designs Charlie likes to border lawns with box hedging as it doesn’t encroach and shade out the turf. For a more relaxed garden design, he prefers to use more strappy foliage plants like Arthropodium, Agapanthus or Beschorneria that can handle the sun but don’t grow too much over the edging, again to allow sunlight to the lawn.

Charlie loves fine leaf grasses like Sir Grange Zoysia and TifTuf as they give that formal manicured look. “These grasses are also incredibly hardy”. TifTuf is the only grass in Australia to have the Smart Approved WaterMark. Sir Grange for its all-round wearability. Each area of Charlie’s garden holds different memories. “The lawns are filled with memories of playing with the children, the small courtyard at the front is spent relaxing and the pergola has many experiences of entertaining with friends, family, and guests.”

Something that most people don’t know about Charlie Albone is that he was born and raised in Hong Kong for 12 years. “It’s not the place most people think a gardener would come from.” Charlie goes on to explain the amazing natural landscapes of the soaring green peaks and lush landscapes. “I love the juxtaposition of the landscape with the heavily built-up metropolis. I love it as a place to visit, but don’t think I could handle the pace full time.”

Charlie Albone’s motivation comes from his family. He is continually working to show his boys that things don’t come easily. This motivation comes from his father. “He was very hard working too, and I get my work ethic from him. I also love what I do, it’s much easier to work when it doesn’t feel like work.”


As always, if you have any more questions please don’t hesitate to contact us for free expert advice on 1800ALLTURF (1800255873) or 07 5543 8304.

The Secret To Achieving That Perfect Bowling Green Look

Written By An LSA Sports Turf Expert

Bowling Greens

Have you ever wondered how bowling green grass is maintained? Or have you wanted to create your own bowling green look in your garden? Well, here’s how it’s done…

What grass is used on bowling greens?

 Over the years bowling green surfaces have changed, but today the majority are Tifdwarf couch. Tifdwarf was bred by The University of Georgia in Tifton and have bred world-renowned ‘Tif’ couch grasses like TifTuf Hybrid Bermuda and TifEagle. Tifdwarf is a fine leaf hybrid variety first brought into Australia around 50 years ago. It is a popular turf variety that is used across many sporting surfaces including golf putting greens, tennis courts, croquet courts, and bowling greens. Tifdwarf has a good drought, heat, and shade tolerance can be mown low and tolerates heavy traffic. It has good rooting capabilities and tolerance for close mowing. Tifdwarf has a soft leaf with few seed heads making it an ideal choice for playing surfaces.

There are also now a range of new greens grade zoysia varieties in the early release stage including Primo Zoysia and Trinity Zoysia. These turf varieties are specifically bred for golf course greens and tees, both holding a dense growth habit.

Bowling green construction

Most bowling greens are 38m x 38m and constructed on a gravel base, with parallel drainage and at least 300-400mm of suitable sand growing profile. Each profile is carefully levelled with a final laser level on the surface. This helps ensure the playing surface has a billiard table flatness.

Planting of a bowling green 

Bowling greens are planted using sprigs that are evenly disturbed across the surface. On average 400kg of sprigs is used to cover the 38m x 38m area. Depending on growing conditions and nutrient inputs from planting to first playing, the establishment could vary from around 8 to 14 weeks.

Bowling green mowing

Once covered, the fun of preparation and maintaining the green starts. Most bowling clubs use a Queen mower or the newer models from Aus Turf Machinery (ATM). These mowers are electric and have a 30’’ cut and can cut down as low as a thickness of a 5-cent piece. The important part of bowling green maintenance is the surface. Less thatch and tighter the surface, the faster the ball rolls for the players.

Regular grooming during the growing months removes thatch build-up and encourages new leaves to form on the surface, mowing is completed daily and, in some cases, double-cut or twice a day. The cutting height can vary from the thickness of a 5-cent piece to a 20-cent piece. The secret in turf management is when removing grass or thatch it needs to be replaced with a new leaf. So small amounts of liquid fertiliser regularly are the standard application.

Maintenance

To keep bowling greens in top condition, they are normally renovated annually. This renovation process involves scarifying, aerating, fertilising, and top dressing the green. When this happens on the bowling greens, the bowlers will have a break for a 6-to-8-week period while this spring renovation work is carried out.

Achieving the ‘bowling green look’ at home

The secret to bowling green grass is regular mowing with a cylinder mower, grooming or dethatching, and small regular amounts of fertiliser. Like bowling greens and other sporting surfaces, regular maintenance is key.

TifTuf Hybrid Bermuda can deliver similar results to Tifdwarf in the backyard when regularly maintained. TifTuf can be mown as low as 10mm, resulting in a similar finish. It has a dense growth and fine leaf blade, ideal for being mown low regularly.

TifTuf Hybrid Bermuda is the latest in turf technology out of the Tifton Campus at the University of Georgia. The Tifton campus is home to the same turf breeding program facility that has developed Tifdwarf and other turf varieties including TifEagle, TifGreen, TifSport, TifWay… the list goes on! The Tifton Campus is continually working to breed the best grasses to be used both domestically and on the sporting field.

Sir Grange Zoysia is another great choice when it comes to low mowing. It too has a dense growth habit but can hold a stunning dark green colour. Sir Grange does have a slower growth rate, but this does reduce the number of times your lawn needs to be mown. Sir Grange can be mown as short as 10mm to unmown, looking great cut at any length!

With regular maintenance and the right turf variety, you too can achieve that perfect bowling green finish for your lawn.


As always, if you have any more questions please don’t hesitate to contact us for free expert advice on 1800ALLTURF (1800255873) or 07 5543 8304.