One of, if not the most important steps in servicing your lawn mower, is making sure your mower blades are sharp and in good condition.
Blunt mower blades will rip at your grass, which not only looks bad, but isn’t good for the health of your lawn.
How do I know if they should be sharpened or replaced?
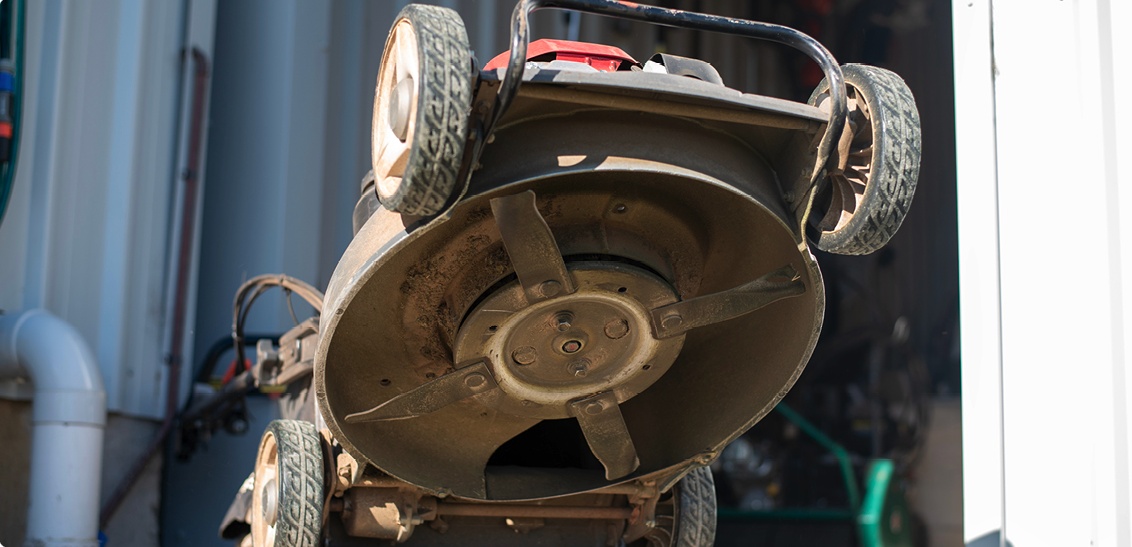
In order to determine whether they should be sharpened or replaced you need to inspect their current condition. To do so, tilt your lawn mower up with the front wheels pointing upwards and the handle flat to the ground or bench. This will ensure no oil flows where it shouldn’t, causing you even bigger problems.
If the blades have any cracks, bends, extremely thin blades or even holes in the blades fin – then your blades need to be replaced.
If there is still plenty of meat left on your blades and they are in their correct shape, they may simply need to be sharpened.
For most people, the easiest fix is to have your mower blades looked at by a professional. If you are not confident or short on time, your best option is to drop your lawn mower off at your local mower shop. The experts will be able to give the whole unit a once-over. It can be a good idea to undertake a mower service every 12 months or so, leaving your mower ready to go when you need it during the warmer months.
If your blades just need a sharpen or you are confident in replacing them yourself, here’s how to go about it for most standard lawn mowers…
How to replace your mower blades
Tools
Socket Wrench and sockets
Allen Key Set
New blades kit
Step 1. Disconnect your spark plug lead from your spark plug.
Step 2. Tilt mower upwards, front wheels in the air and handle to the bench or ground as mentioned above.
Step 3. Using the wrench, you can remove the main bolt securing the base plate to the cutting deck. Then remove the blade bolts. Or you can remove the blade bolts while the plate is still attached to the mower. The blade bolt head may require the use of an Allen key to stop them from spinning while you remove the nut.
Step 4. Remove old blades and put your new blades in place on the bottom of the base plate. The base plate will spin anti-clockwise so make sure the cutting edge of the new blades is directed towards the direction they will spin. A mower blade replacement kit will come with a plastic washer. This goes onto the bolt on the bottom of the base plate. It will also come with a steel washer for the underside and the nut to tighten it in place.
If you are going to sharpen your blades, make sure you are very careful as to only take the slightest amount off the blade and keep it even, so you don’t throw the blades out of balance.
Step 5. Put your new washer and bolts on and secure them in place tightly. The blades should still move if a decent amount of force is applied. This will enable them to absorb a hit from a large obstacle or rock avoiding damage to other components.
As always, if you have any more questions please don’t hesitate to contact us for free expert advice on 1800ALLTURF (1800255873) or 07 5543 8304.
When looking to landscape your area, it’s important to factor in how different plants, trees and turf types will interact. Using the right selection of plants in the right areas will help ensure your garden performs well seasonally and stay healthy and thrive.
Selecting Plants for Your Garden
When looking at plants to use in your garden, choosing the right plant for the right place is important. Some considerations to look for include the following:
Light availability
Plant growth habits
Soil type
Water availability and drought tolerance
Foliage
For information on the best plants to use around a lawn, check out our blog here.
Other options to consider are native plants. Native plants are a great option as they can usually survive on rainfall alone, are low maintenance, and improve biodiversity while providing shelter and food for native bees, birds, and insects.
If you want to grow your own veggies, having a raised garden bed is a great idea! Raised garden beds will be less susceptible to compaction and have better drainage. When choosing what to grow, it is important to consider what is currently in season.
Where to Plant In Your Garden
A popular option when choosing where to grow your plants is around fence lines and around your house. This can help soften any constructed outdoor space and can add another layer to your landscape. Having your plants across your outdoor space boundary lines and house will also allow more area for kids and pets to play.
Picking The Right Turf Type for Your Home
When it comes to picking the right turf type for your home, it is important to consider a few different factors to ensure your lawn will look great and be fit for purpose. We recommend considering who will be using the lawn including pets and kids, how much shade your lawn will receive in winter and summer, and maintenance requirements.
For a shaded area, you will need to use grass with a higher shade tolerance. A shade-tolerant variety like Sir Walter DNA Certified Buffalo will need a minimum of 3-4 hours of direct light to thrive. If your area gets 5-6 hours of light, you can use a Hybrid Bermuda variety like TifTuf.
If your lawn area will have regular foot traffic, choosing a turf type with a high wear tolerance and a fast-repairing nature will be important. Sir Walter has a good wear tolerance; however, it will take longer to repair if it becomes damaged. If your area needs both a good wear tolerance and fast repairing nature, we look at TifTuf Hybrid Bermuda.
For a high-end show garden area, why not look at using a premium turf type like Sir Grange Zoysia! Sir Grange Zoysia is a slower-growing grass that has a beautiful dark green colour that looks great, both mown and unmown!
As always, if you have any more questions please don’t hesitate to contact us for free expert advice on 1800ALLTURF (1800255873) or 07 5543 8304.
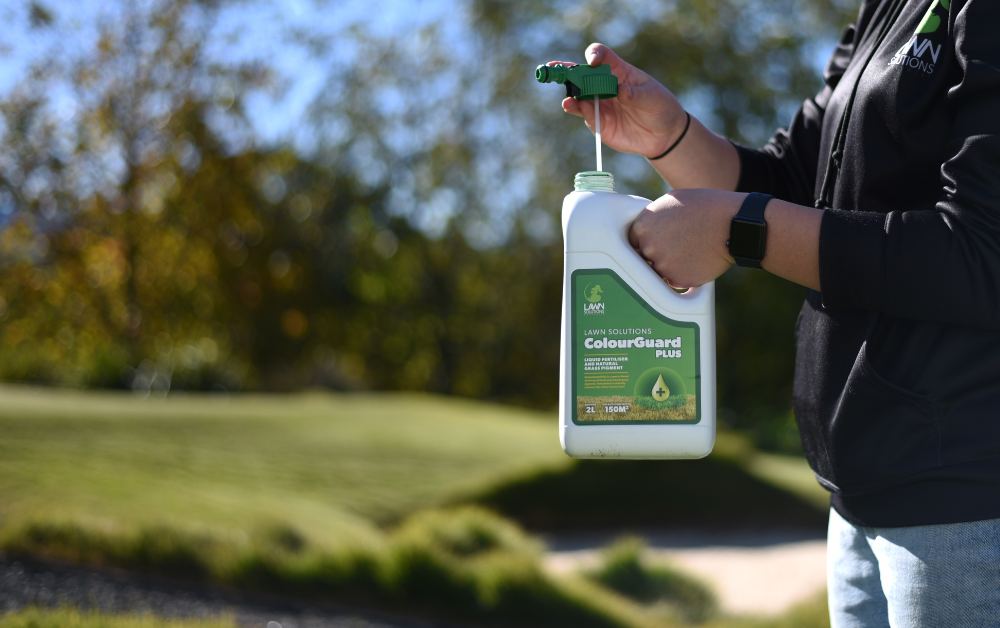
ColourGuard Plus is a fantastic lawn pigment that can instantly improve your lawn’s colour. ColourGuard is especially great to use in winter when lawns can naturally lose some colour. In this blog, we go into detail of how to apply both the ready-to-use and concentrate ColourGuard Plus.
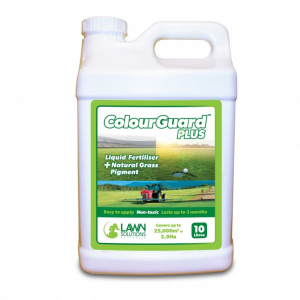
What sizes does ColourGuard Plus come in?
ColourGuard Plus comes in a variety of sizes to suit both home and commercial applications.
ColourGuard Plus 2L Hose-on. Covers 150m2
ColourGuard Plus 100ml Concentrate. Covers up to 200m2
ColourGuard Plus 2.5L Concentrate. Covers up to 6,250m2
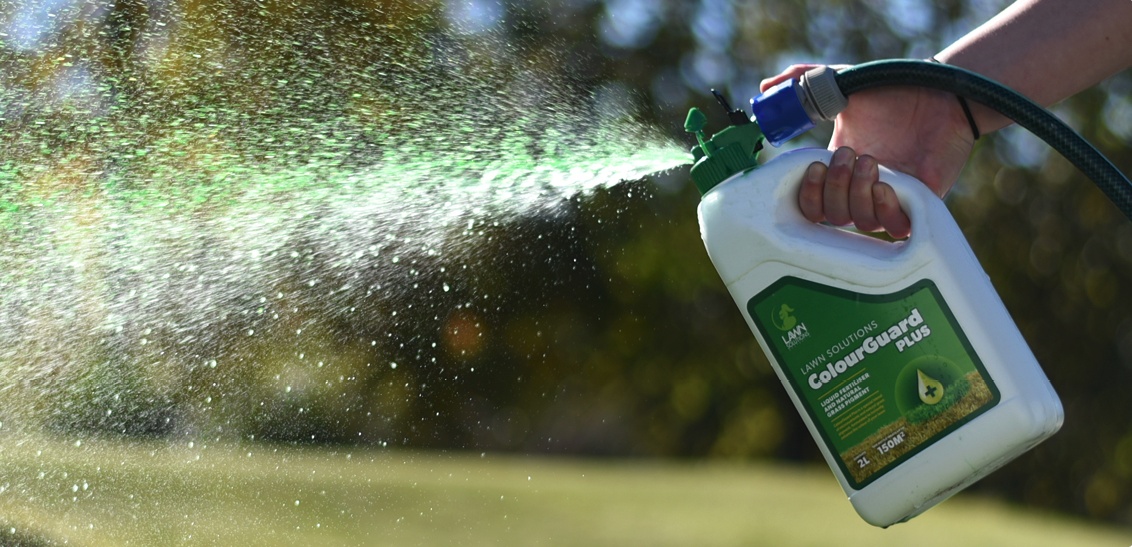
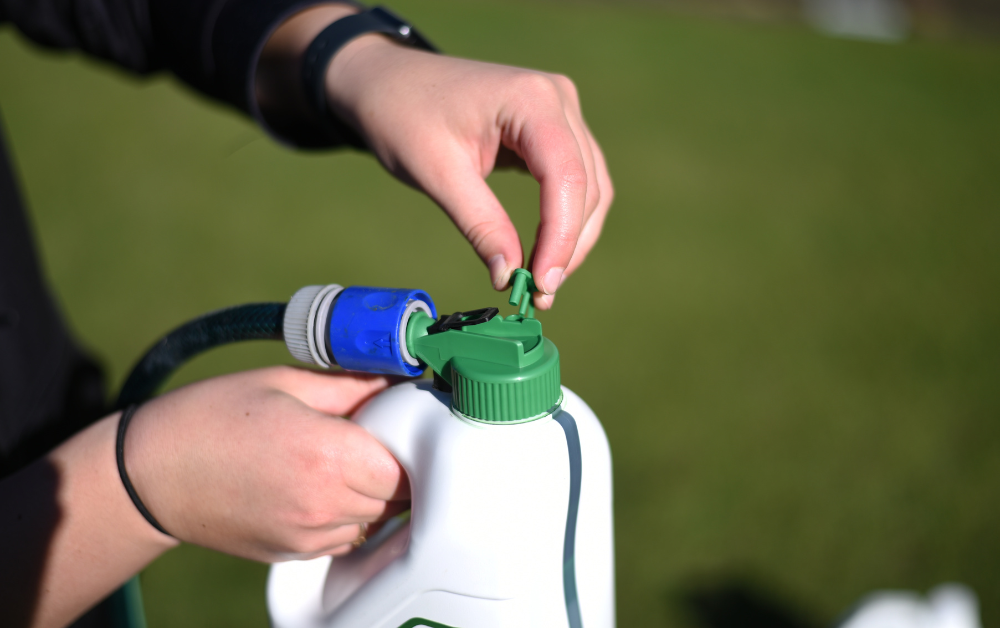
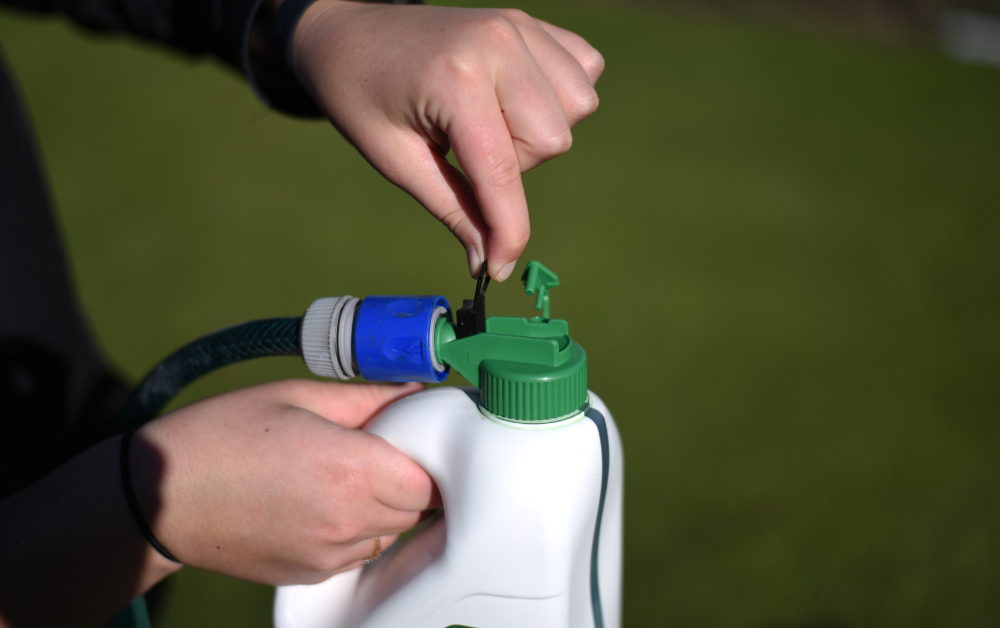
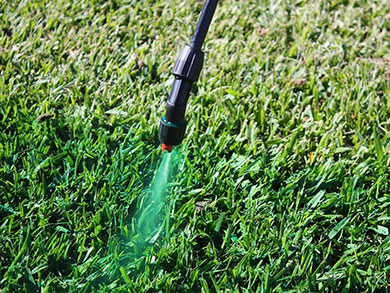
How to apply ColourGuard Plus hose on?
1.Shake bottle well
2. Remove cap and screw on hose on attachment
3. Attach hose to connector
4. Turn on hose
5. Remove green tab
6. Pull black tab up to allow product to spray
7. Once finished, push black tab back down to stop water flow and plug in green tab
8. Turn off hose
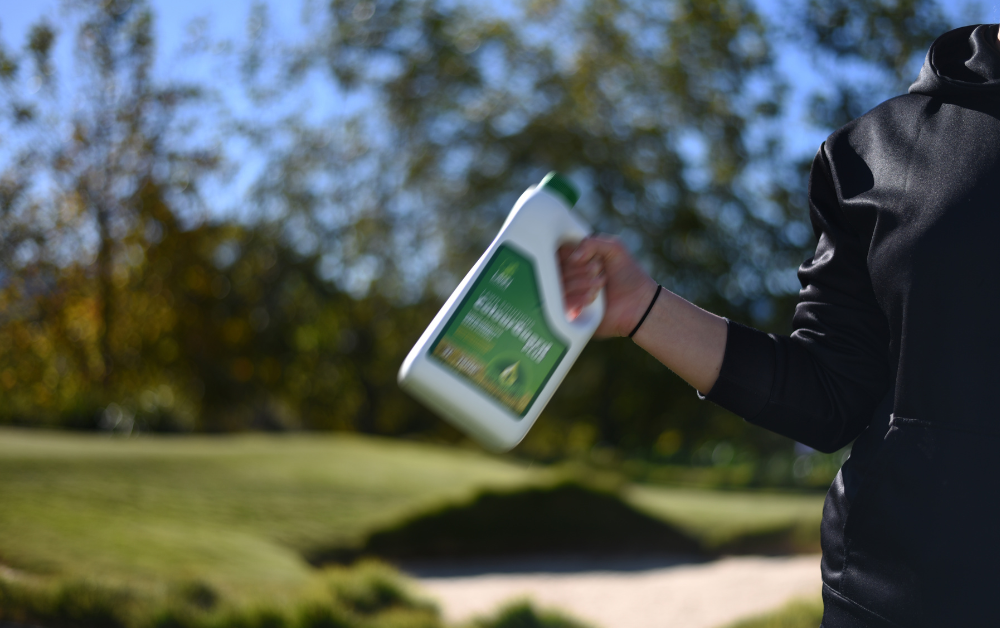
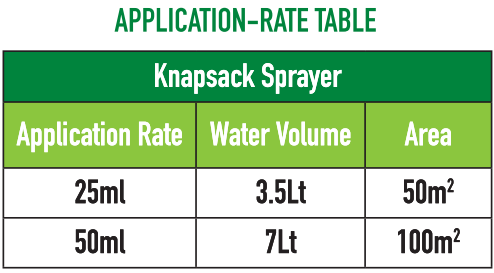
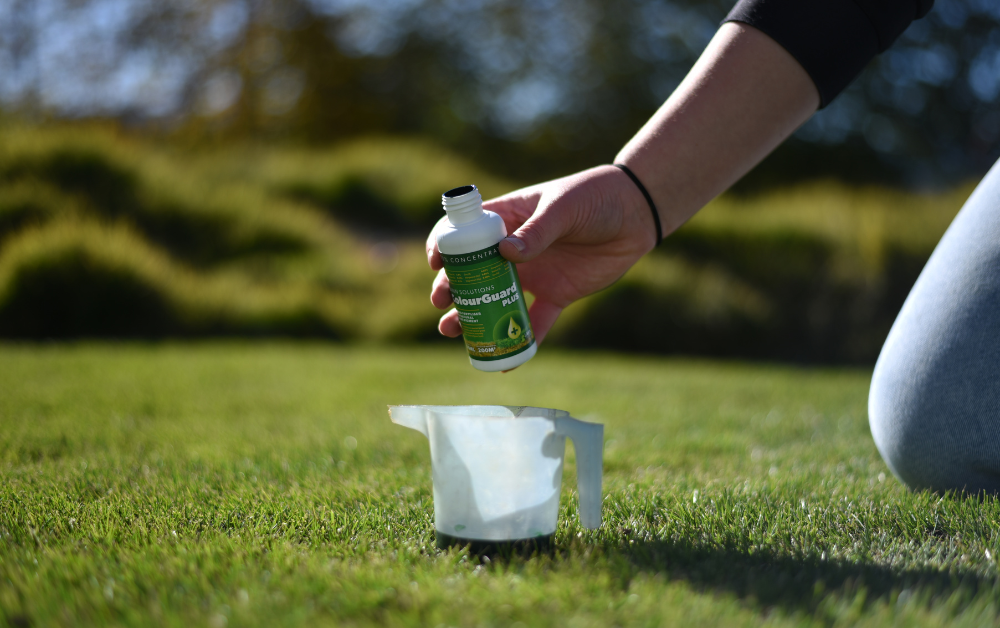
How to apply ColourGuard Plus concentrate?
1. Shake bottle well
2. Measure out how many m2 you are wanting to cover
3. Use the application rate table to determine your application rate
3. Measure how much ColourGuard Plus will be needed
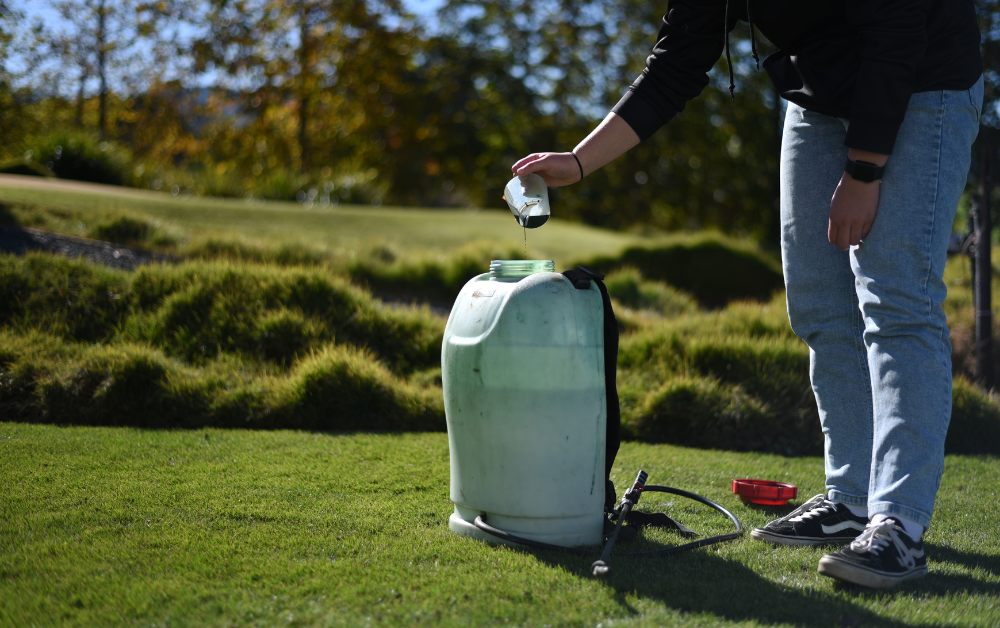
4.Fill your tank with water first, then add the recommended amount of pigment
5. Give your tank a quick mix to ensure the concentrate has diluted throughout the tank
6. Spray your mix to the area
7. Once finished, give your sprayer and nozzle a rinse with clean water
If you want to increase the intensity of the pigment, you can add more ColourGuard Plus to your sprayer.
Common questions about applying ColourGuard Plus
Is ColourGuard Plus safe to use on all lawn types? Yes, ColourGuard is safe to use on all lawn types!
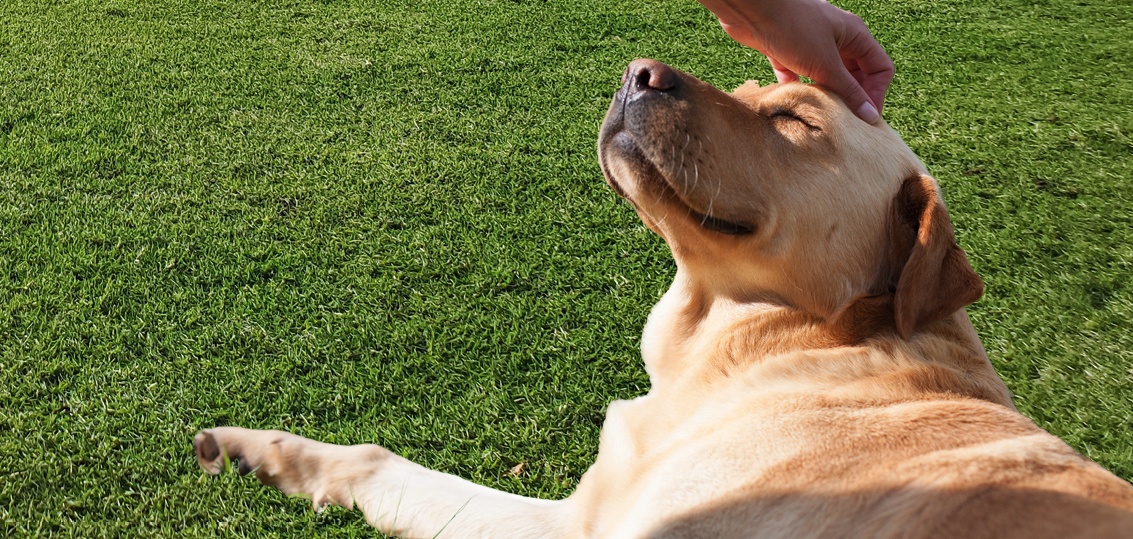
Is ColourGuard Plus safe to use around pets? Yes, it is safe to use around pets. However, we recommend keeping pets off the lawn for a few hours to ensure the pigment has properly dried and absorbed into the leaf. After the pigment has been absorbed, we also recommend watering the lawn to wash off any excess product the grass hasn’t absorbed.
Can ColourGuard Plus be used year-round? Yes, it can be applied at any time throughout the year.
How long will the pigment last on the lawn for? Once applied, the pigment is locked into the leaf. Therefore, the pigment will be removed with the leaf when the lawn is mown.
What can I do if I apply the ColourGuard to another surface? If you apply the pigment to another surface, it is best to wash it off immediately with water to avoid staining.
Will ColourGuard Plus work on dead grass? As this product needs to be absorbed into the leaf of the grass, it will work best on a lawn that is healthy. If applied to a dead lawn, the grass won’t be able to absorb the pigment. It may still give it a slight green up; however, it won’t work as effectively when applied to healthy grass.
If you would like to know more information on applying ColourGuard Plus or any of our other lawn care products, please reach out.
As always, if you have any more questions please don’t hesitate to contact us for free expert advice on 1800ALLTURF (1800255873) or 07 5543 8304.
Did you know that 40% of Australian households own at least 1 dog?
Dogs are an important family member to many aussie homes, but on occasion they can cause damage to our beloved lawns. Our dogs are often the ones who will be spending the most time out on the lawn so it is important they have a place to enjoy. In this blog, we will look at ways to keep both your four-legged friends and your lawn happy…
If your dog gets the zoomies and runs around your lawn like crazy, your turf can cop quite a hiding. Especially for families with larger dogs, this can be a forever uphill battle to help the grass survive. If this is you, a turf reinforcement mesh might be the right option. Turf reinforcement mesh will give your grass extra strength so that it can withstand the extra wear, reducing damage. These meshes are usually made from high-density plastics and are put down onto an existing lawn. Once these are laid out on the lawn the plastic structure will disappear within a few weeks when the turf naturally grows back over. These meshes also provide an easy solution to help stop chickens scratching throughout the lawn.
Urine burn
If your dog is one to leave burns on the lawn, there are a variety of options that can help stop or reduce urine burns on your lawn. One popular option that has seen success is Dog Rocks. These work by filtering out the impurities from water such as tin, nitrates, and ammonia. Filtered water has also seen success, working similarly to dog rocks. Training your dog to use one area of the lawn or synthetic pet potty mats can also help prevent widespread damage throughout the lawn. For more information on stopping and preventing urine burn click here.
De-compact your soil base
If your dog spends most of its time out on the lawn, your soil base can become compacted. Compaction will occur when an area of the lawn is regularly used. This can hinder the soils’ ability to absorb water and the lawns’ ability to properly root down into the soil profile. To help reduce compaction, you can use either use a garden fork or a core aerator to help to fracture up the soil profile, better allowing for water and nutrients to get to the roots of your lawn. For more information, please check out our blog on aeration here.
Digging
But what should you do if your dog is a digger? Well, let’s look at why dogs dig in the first place. Some dogs like to dig to help stop their boredom, are trying to escape, seeking protection, or are just playing. To help stop your four-legged friend from digging up your entire yard there are a few things you can do. Chew toys can serve as a great distraction and can help keep your dog busy while you are not home. Regular exercise will also help your dog use up its energy and will keep your dog active.
Sandpits
If your dog just loves to dig, why not give them an area where they can dig all day long without causing any damage to your lawn! Treats and chew toys can even be added into this dedicated digging area to encourage them to use it rather than the lawn. These sandpits can easily be constructed by a few pieces of timber or you can even use a kids clam shell and fill it with sand.
Choosing the right turf variety
When choosing the best turf variety, it is important to consider your pets needs too! If your dog will be spending its time out on the lawn, it is best to choose a variety with a high wear tolerance. Sir Walter DNA Certified buffalo has a soft and hardy leaf that is a great performer in high wear areas! Sir Walter DNA Certified is a great all-round turf variety that is great with pets and kids and is well suited to the Australian Climate. Another great turf variety for pets is TifTuf Hybrid Bermuda. TifTuf has a fast-repairing nature, so if damage does occur to from your pet, your lawn can repair itself fast. This turf variety has a soft fine leaf that is great to touch and feels great underfoot.
As always, if you have any more questions please don’t hesitate to contact us for free expert advice on 1800ALLTURF (1800255873) or 07 5543 8304.
Fertilising your lawn the right way can help improve its appearance while keeping it healthy. While fertilising is quite simple, there is a bit more to it than simply chucking it out or spraying it on.
When to fertilise
When fertilising, you want to make sure you are applying it at the right time of year to get the most out of your fertiliser. Most common warm season varieties like buffalo, couch, kikuyu, and zoysia love a feed around mid-spring when the lawn starts to grow again after winter. Another feed in summer around Australia day. Then again in Autumn after Easter or Anzac Day to help give the lawn a boost heading into the cooler months.
There are 2 main types of fertilisers on the market, granular and liquid.
Granular Fertilisers
Granular fertilisers are an easy and popular option to use. These fertilisers do take longer to be absorbed but will usually release nutrients over a longer period.
Before application, best to measure out your lawn size to ensure you apply it at the correct application rate. Then check your fertilisers label rate and safety instructions. With granular fertilisers, we recommend using a fertiliser spreader to apply the granules evenly or use a smooth motion when spreading by hand. When applying fertilisers, the most important thing is to evenly cover the area as best you can. We recommend walking up and back, then across in the opposite direction to get the best coverage. Keep an eye out how wide you are spreading the granules out to avoid doubling up on application in areas.
Lawn Solutions Premium Fertiliser is a professional blend of both slow and fast release granules containing all the essential nutrients and trace elements for all lawn types. It has been designed to provide the best results when applied at a rate of 20 to 25 grams per square metre. To calculate your coverage, simply multiply your lawn area (m2) by this rate (20 to 25g).
Liquid fertilisers work faster than granular fertilisers as are applied directly to the leaf of the lawn and are absorbed quickly. This helps give your lawn a short boost.
Again, before application measure out your lawn size and apply as per your fertiliser’s application rate. When applying your liquid fertiliser, spray your fertiliser evenly by walking in an organised fashion to achieve an even application. Keep an eye out how wide your sprayer is to avoid doubling up on application in areas.
Exceed Liquid Fertiliser is a premium, professional foliar fertiliser designed to bring out the best in any lawn. It can be applied using either a knapsack sprayer, watering can, or with a 2L hose on sprayer. When applying Exceed with a knapsack use 200-400ml with 7lt-10lt of water for 100m2.
After applying your fertiliser, give any hard surfaces a sweep or blow to remove any fertiliser that may have been applied before irrigation. This will help avoid staining to your hard surfaces.
After clearing your hard surfaces, it is time for the final step, watering in your fertiliser. This is an important step to help avoid burning on your lawn. Not all fertilisers need to be watered in, but the majority do. If you are unsure, read your products label or check with the product manufacturer. To water in your fertiliser, you can use a hose and sprinkler or time your application just before rain. One thing to be careful of when applying just before rain is that you are not going to get too much rain as it can wash the fertiliser straight out of the lawn. Around 5-10ml of rain is perfect.
Over the following weeks you will be able to reap the benefits of a healthy lawn.
As always, if you have any more questions please don’t hesitate to contact us for free expert advice on 1800ALLTURF (1800255873) or 07 5543 8304.
Organic debris like leaves and clippings can be left on your lawn to breakdown as mulch
Mowing in the same pattern is not recommended
Watering occasionally is better for your lawn than ‘little-often’
Collect your grass clippings?
Many believe leaving grass clippings on your lawn will create thatch. Grass clippings breakdown quite quickly, are estimated to be made up of 85-95 percent water and add to the organic layer below your lawn. Grass clippings act as a natural fertiliser, with beneficial nutrients like potassium, nitrogen and phosphorous. If it’s been a while since you mowed or the length has gotten away from you, then try bringing the height down over a few days so there’s not too much (greater than about 25mm – or 1 inch) clipping left on your lawn as too much clipping left on the lawn can cause problems.
Strict mowing pattern?
While regular mowing is important, mowing in the same patterns causes your lawn to develop a ‘memory’, making the blades fall the same way. This can eventually deprive your lawn from sunlight and water. You can also track ruts into your lawn from going over the same wheel marks all the time. Simply mow in alternate directions and change your patterns to ensure a more evenly cut, with less compaction and a better-looking lawn.
Don’t leave leaves on your lawn!
While a heavy layer can smother your lawn, a moderate to light layer of leaves can be mulched back into the lawn, providing nutrients for your grass. Shredding the leaves as you mow the lawn is all you need to do.
Overwatering your lawn
If you take care of your lawn properly, the need for water is minimal. Deeper, less frequent, watering is much more beneficial than the mindset of “the more, the better” when it comes to your lawn. Overwatering can result in short roots, fungus, and a high bill from your water company! Sticking to this routine – even if you have an automated sprinkler – will ensure your lawns root system is delving deep for moisture and will survive dry periods with less stress.
Overnight or afternoon watering is best
Many people believe that watering your lawn in the afternoon after the sun has gone down or at night is best, but this is not the case! When you water your lawn at night or in the afternoon, your lawn will be sitting damp till the next morning. This is not good for your lawn as it can then be susceptible to fungal diseases. The best time to water is in the morning, before the heat of the day.
Cutting grass shorter will make it grow slower
Cutting the grass too short can harm the roots and stunt growth. It’s important to mow at the appropriate height for your grass type, and to avoid cutting more than one-third of the blade at a time.
Lawns and lawn care are boring to talk about!
Talking about your love for your lawn can be a great icebreaker, especially when you have some hilarious puns to go with it. Just ask the specialists at Lawn Solutions Australia . . . they’re easy to ‘get-a-lawn-with’!
As always, if you have any more questions please don’t hesitate to contact us for free expert advice on 1800ALLTURF (1800255873) or 07 5543 8304.
Winter Grass is one of the more frustrating weeds to remove. As winter grass grows it produces triangular shaped seed heads. These seeds make the weed easier to identify but are a sign that it has already started spreading for next season. In this blog, we look at what winter grass is and how you can stop it from spreading throughout your lawn.
Winter Grass
Winter Grass, botanically known as Poa Annua is a low growing weed that has soft, drooping green leaves, and grows in tufts with white seeds. This weed will start to appear when the average soil temperature drops to 16 – 17 degrees. For most areas, this is around mid to late Autumn or when you start to notice the cooler temperatures. When the soil temperatures drop below this, the winter grass seeds that are in the soil will start to germinate and grow.
How Does Winter Grass Spread?
As Winter grass continues to grow, it will produce triangular seeds heads. These seeds are then dropped into the lawn, or spread by wind, birds, underfoot… and will grow a new winter grass weed/plant.
Prevention
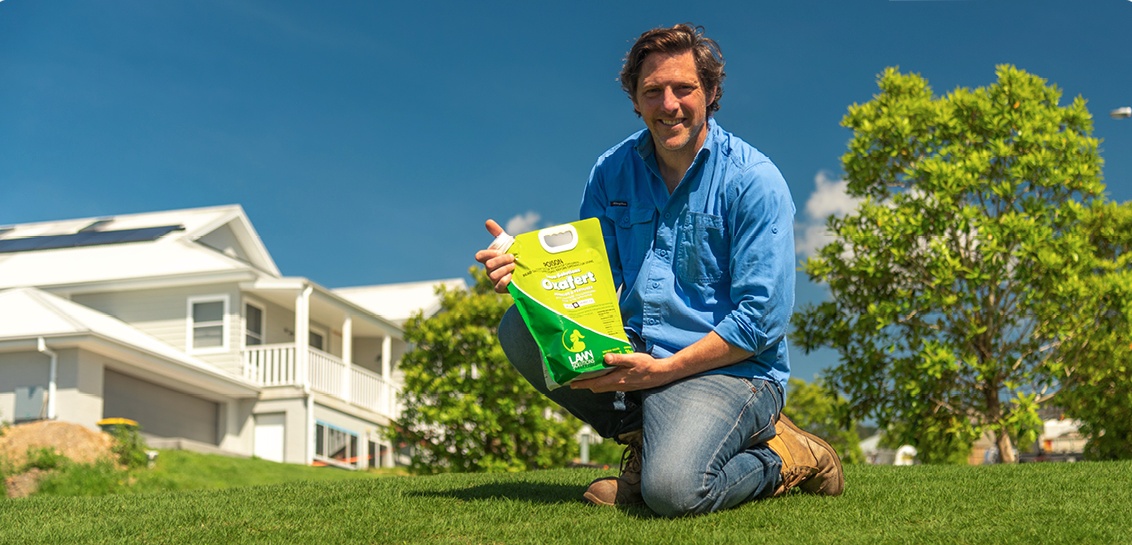
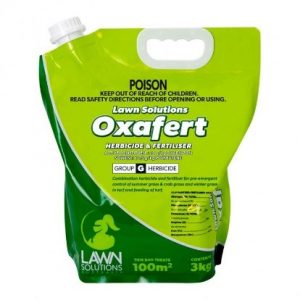
Pre-emergent herbicides like Oxafert and Oxapro target seasonal weed seeds that are already in the soil, stopping them from germinating, before the weed starts to appear! Pre-emergents are best applied in mid to late Autumn, or when the temperatures start to drop in your location. This is when the seasonal winter weed seeds that are already in the soil will start to germinate.
You can also apply a pre-emergent in early to mid Spring, or when the temperatures are starting to rise to help stop seasonal summer weeds, like Summer Grass and Crabgrass/Crowsfoot.
How Pre-Emergents Work
Pre-emergents work by forming a barrier at the soil level, affecting the germination of any new seedlings. This prevents any new weeds from growing and spreading throughout your lawn for up to 12 weeks.
It is important to note, pre-emergents will only stop weeds during germination and won’t stop any existing weeds that are already in the lawn. If you are wanting to target weeds that are already growing in your lawn it is best to use a post emergent herbicide for control.
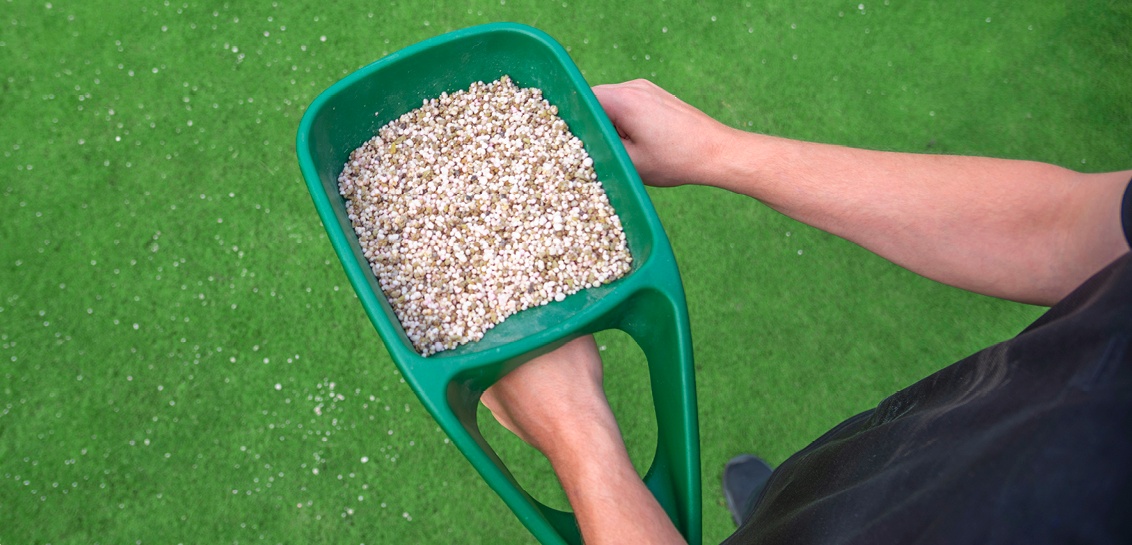
How to Apply Oxafert
When applying Oxafert and Oxapro, spread out the granules evenly by using a sweeping hand motion or apply with a fertiliser spreader for even coverage. Oxafert and Oxapro are best applied to dry foliage and watered in immediately after application.
Winter Grass in Your Lawn Already?
If Winter Grass has already infiltrated your lawn, it is best to use a selective post-emergent herbicide. Amgrow Winter Grass Killer is a selective herbicide safe to use on most varieties including Blue Couch, Common Couch, Bent, Buffalo (including Sir Walter DNA Certified Buffalo) and Brown top lawns. This is not safe to use on Kikuyu or Fescue lawns. Another post-emergent herbicide that is safe to use on Kikuyu lawns is Munns Winter Grass Killer.
As always, if you have any more questions please don’t hesitate to contact us for free expert advice on 1800ALLTURF (1800255873) or 07 5543 8304.
Six words deflated me like a bindii in a bike tyre: ‘why don’t you do the edges?’ My lawn was looking terrific, but my edges were as fuzzy as riding in the rain wearing glasses. I can’t recall my answer to the question, but a star-wheeled edger soon found a home next to my bike in the shed and lifted my lawn to the next level.
The star-wheeled edger is a manual type, while others are powered. Both have their advantages and disadvantages, which we’ll discuss to sharpen your edger knowledge and your edges.
Manual edgers
Manual edgers are available in four types – hand shears, spades, half-moon edgers and rollers. They best suit smaller areas because they rely on your physical effort. Top tip: use them when the ground is damp! The advantages these edgers provide is they don’t release emissions, they’re low cost, require virtually no maintenance, and they’re easily stored.
Half-moon edger – These edgers are like a spade in that they require you to push the blade into the ground with your foot. You’ll achieve the best results by rocking the tool back and forth as you proceed along the edge.
Roller edgers also require foot power. They have a metal or wooden pole with either a star-shaped or disc-shaped wheel attached at the bottom. You place the wheel on the hard surface and the cutting edge into the ground, then push with your foot. These are good when they’re used frequently on edges that aren’t too overgrown.
Powered edgers
Powered edgers have a blade that cuts through the edge. The blade height is often adjustable so that you can cut just above ground or to several centimetres below ground. These are great for larger areas and long stretches of edging.
Petrol
Petrol models can have single or multiple wheels; the multiple wheeled types are the most stable.
These edgers can also go around trees or garden beds. There are variations among manufacturers, so you need to read the instructions related to the specific model.
The disadvantages of these are they are relatively noisy, they may need replacement parts (e.g. blades), they take up greater storage space, and they release emissions. Having said this, they will provide a nice straight deep edge that will look great and the more you practice the straighter and cleaner the edge will look.
ATOM PROFESSIONAL LAWN EDGEROZITO 2 STROKE PETROL EDGER
Electric
Electric edgers are cord or battery powered and lighter than petrol models. They are quieter than petrol models, though they don’t have as much power. The benefit of these over the petrol models is there are no emissions and they’re a bit smaller, allowing easier storage.
RYOBI 18V ONE+ CORDLESS EDGER
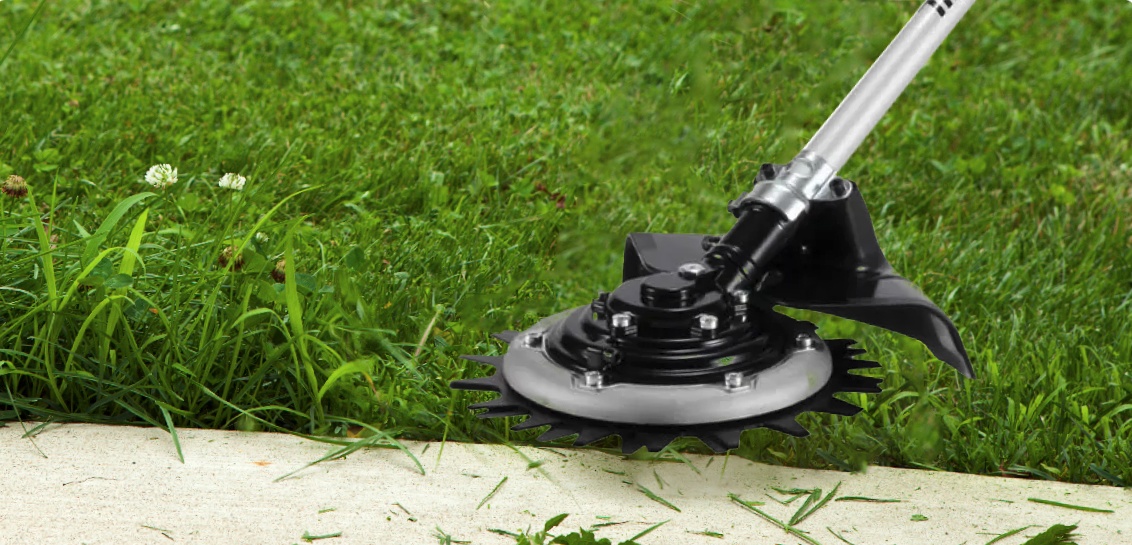
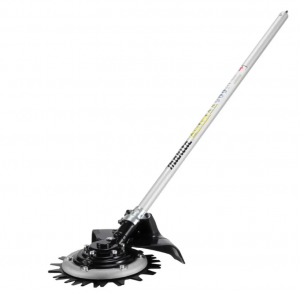
Rotary Scissors
Rotary scissors are another tool which can help you get a perfect edge to your lawn. These scissors work by using a pair of scissor-like bladed discs that rotate in a circular motion to trim and shape the edges of the grass.
MAKITA ROTARY SCISSORS ATTACHMENT
What about a trimmer?
Whipper snippers or trimmers aren’t dedicated edging devices; however, they’re often used for this purpose. A rotating flexible nylon line cuts grass, weeds and small unwanted plants. On some models you can rotate the heads so they’re in a vertical position for edging.
Whipper snippers come in several versions: straight shaft or curved shaft with 2- or 4- stroke petrol motors or battery-operated models. They’re especially good for working at an angle.
The main types are corded, battery and petrol-powered trimmers. Petrol trimmers have more power and are much better for larger areas. Trimmers with cords will probably require an extension lead, so are only useful for small areas. They also aren’t as powerful.
If your lawn looks a bit scraggly around the edges, the overall appearance of your lawn is definitely diminished. Most people tend not to have a dedicated lawn edger, so if you are using a Whipper snipper/weed whacker/line trimmer or whatever it is you call it, it is important that you know how to use it to get the best results.
Here’s some tips for getting a great finish every time with a whipper snipper –
Speed – Your trimmer will work best when at full speed. So, keeping your trimmer line away from the edge and working your way in, is key to maintaining speed. Avoid starting the line trimmer already in the grass you’re cutting for the quickest, cleanest cuts. It’s the tip of the line that is cutting, so keeping the majority of the line clear will result in a cleaner cut.
Spin direction – Depending on which way your trimmer spins, you need to make sure you are cutting with one side and the material is being ejected to the opposite side. So, if your trimmer spins counter clockwise, you need to keep the right side closer to the edge so that material is being ejected away from it. This will keep the cutting path clear and allow you to achieve a much better result.
Edging and tapering – Edging will be important for driveways and paths where you are after a clean edge to something parallel. This is where you hold the edge of the trimmer so that the string is vertical. This will provide a crisp cut line where you want the grass to end. Tapering is used for fences and retaining walls where you hold the edge of the trimmer so that the string is at a slight angle. This will ensure you don’t scalp a full run of grass by trimming parallel and get a nice gradual blend between the object and the grass.
Regular trims – The best edges are ones that are kept on top of and not allowed to get out of control. So, the more you do it, the more likely your edges will stay uniform and the easier they will be to tidy up, and the better you will get at it.
The finish line
Each edger has its place, depending on the size of your yard and your needs. You may need a couple of types to get the look you want and get the edge on your neighbours!
Now you’re a little clearer on the edger(s) you need, get on your bike and get the one you like – chances are you’ll get a few more ‘likes’ for your lawn.
As always, if you have any more questions please don’t hesitate to contact us for free expert advice on 1800ALLTURF (1800255873) or 07 5543 8304.
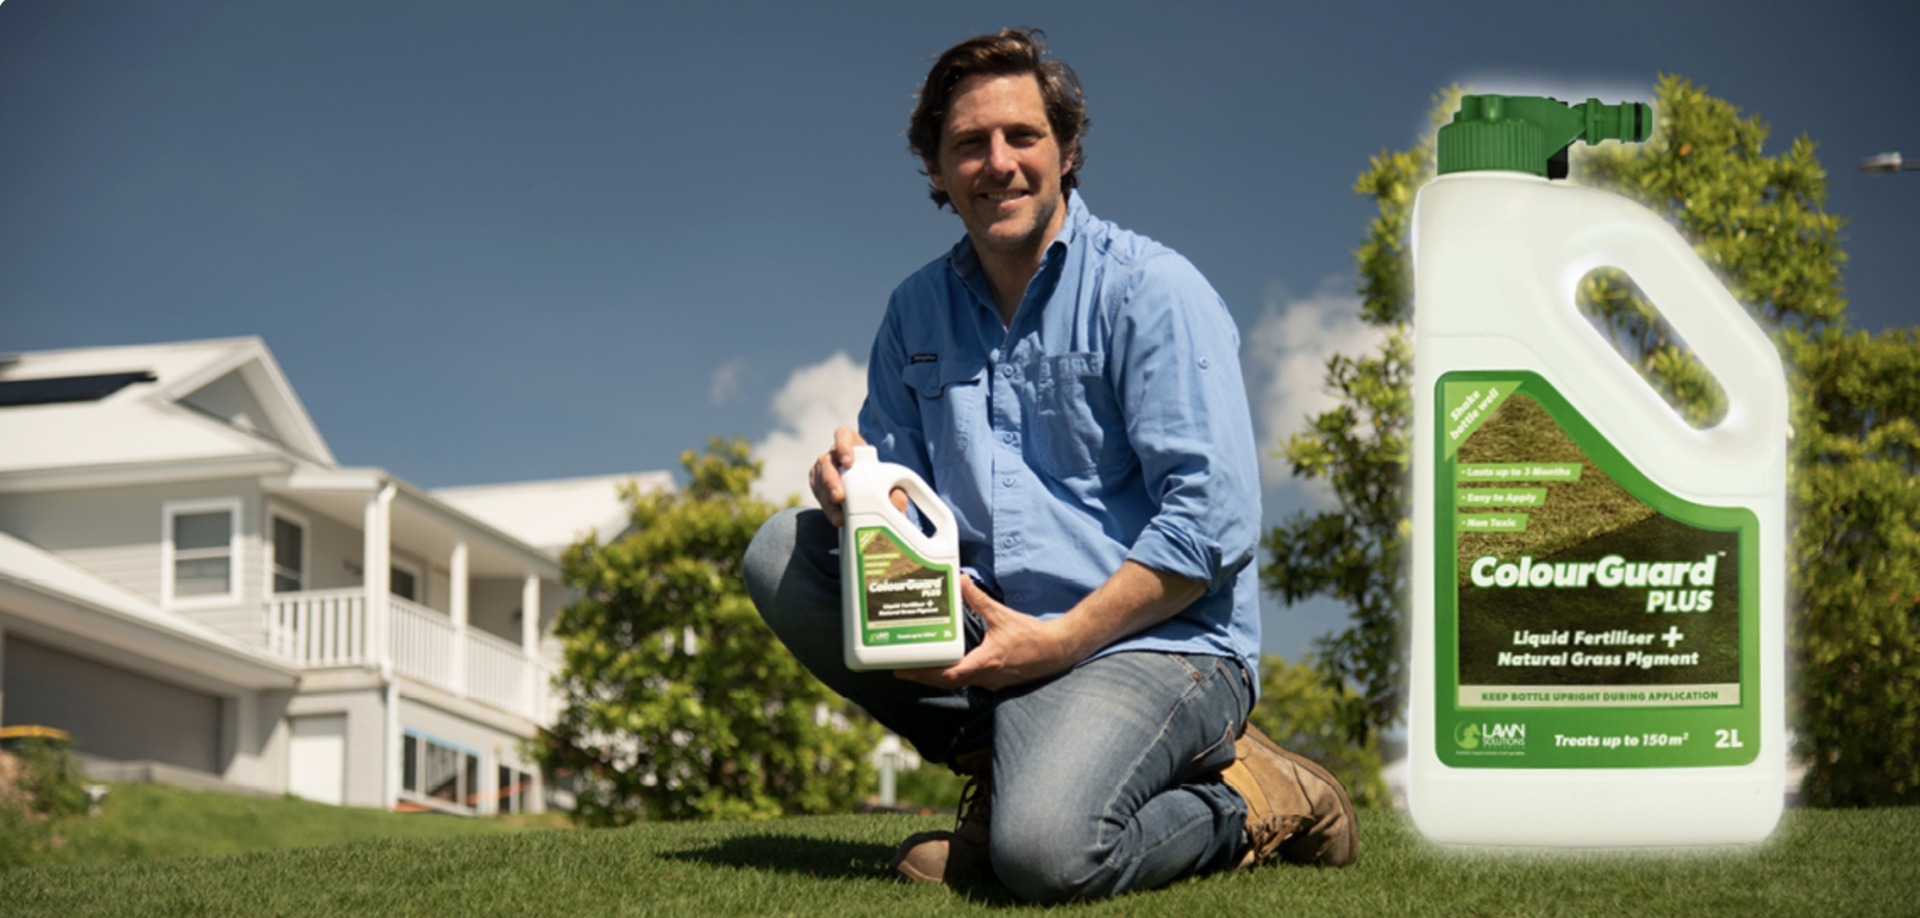
ColourGuard PLUS is a liquid fertiliser as well as a natural grass pigment that helps to keep your grass green.
The formulation consists of natural ingredients that will not harm the health or growth of the turf. ColourGuard Plus delivers micron sized organic pigment solids into the tiny pores of the leaf, issued via water delivery spray applications.
Apply this 100% natural grass colourant to keep your lawn looking fantastic year-round. Easy to use, works on all lawns, in all climates. Plus, you will reduce the amount of fertiliser and water your lawn requires. Just one application can give your lawn up to three months of great colour. Make your neighbours green with envy!
Can use all year round
100% natural ingredients that won’t harm the health or growth of your lawn
Available in a ready-to-use bottle and 100ml concentrate
Lasts up to 3 months!
How to use ColourGuard PLUS
ColourGuard PLUS is easy to apply and will stay green for up to 3 months per application. By combining a robust blend of vital micronutrients with organically derived pigment, ColourGuard PLUS functions as a colourant and a fertiliser at the same time. Attach your hose to the ready-to-use bottle or mix from a concentrate with water in a pressure sprayer as per the bottle instructions.
3 reasons to use ColourGuard PLUS
Green-up before your lawn goes brown
ColourGuard PLUS has been developed to give you the best lawn in the street on drought, frost affected or dormant grass. Best applied before your grass goes brown to retain colour, while at the same time increasing your grass health. ColourGuard Plus also acts a blanket for your grass allowing it to retain an internal leaf temperature 2 degrees higher than untreated areas.
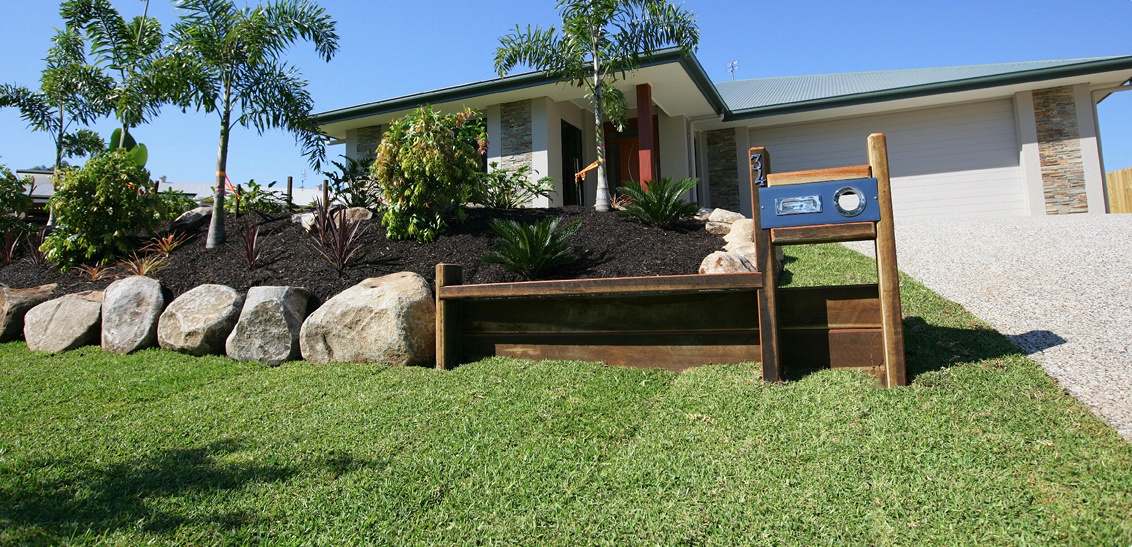
Selling your property?
As any real estate agent will tell you, kerb appeal is essential for getting your property sold for the highest price possible. ColourGuard PLUS means you can maximise your kerb appeal with a lush green front lawn, nature strip and backyard to show off your property at its best. Make sure you apply ColourGuard PLUS before your real estate agent takes photographs of your house for marketing your property!
Important party/event
Do you have an important party coming up and you want to have a lush green lawn for your guests? ColourGuard PLUS is so fast and easy to apply, your lawn will be party-ready in no time.
Just mix with water in a knapsack following the application rates on the bottle for your required area. This 2.5ltr concentrate will cover up to 6,250m2 (0.625Ha)
We know many of you are always looking for ways to take your lawns to the next level. One way to do this is by using what the turf professionals use, Plant Growth Regulators. Used on golf courses and sports grounds across the world, Plant Growth Regulators commonly known as PGR’s, are now available in an economical size to use in your own back garden.
In this article we focus in on the benefits of plant growth regulators, Primo Maxx by Syngenta specifically, that can help your lawn perform like stadium quality turf.
What is a Plant Growth Regulator or PGR?
A PGR is an innovative solution that influences a plant’s growth and development.
Recent types of PGRs, such as Syngenta’s turf growth regulator Primo Maxx are formulated as a micro emulsion concentrate that quickly enters the leaves and shoots before systemically moving throughout the entire plant.
Better looking lawns, faster:
Reduces grass growth: reduced mowing.
Less bare patches: improved aesthetic.
Greener grass.
The best-looking edges with less work.
Once absorbed, the active ingredient works to temporarily block the plant’s ability to produce a growth hormone called Gibberellic Acid. This suppresses the plant’s vertical growth while allowing normal processes like photosynthesis and respiration to continue.
Energy is diverted into the plant’s lateral growth, resulting in smaller and finer leaves, increased tillering, and a larger, deeper root mass. The turf becomes denser with a more vibrant colour.
As always, if you have any more questions please don’t hesitate to contact us for free expert advice on 1800ALLTURF (1800255873) or 07 5543 8304.