Fertilising your lawn is a necessity! It keeps your healthy green lawn looking amazing all year round. In this blog we discuss tips on how to fertilise lawn!
Preparing Your Lawn for Fertilisation
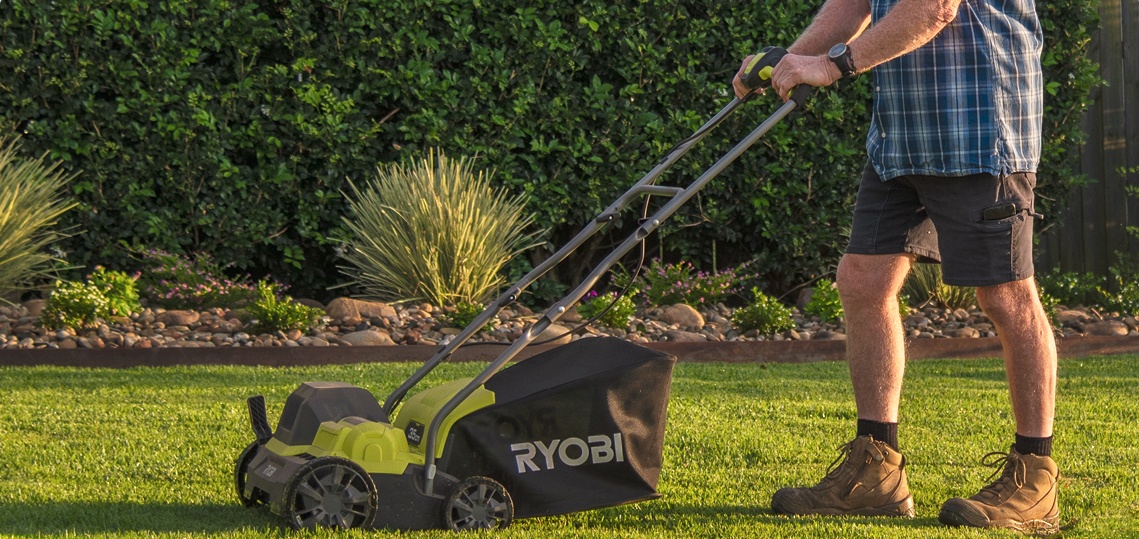
• Mow your lawn before fertilising.
• Rake and removing debris for better fertiliser absorption.
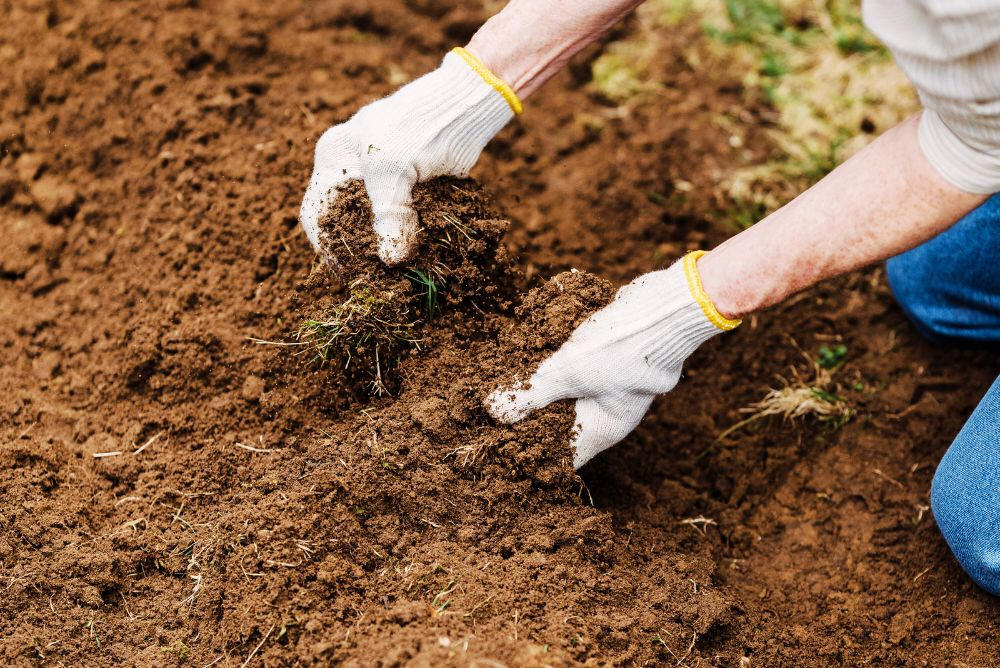
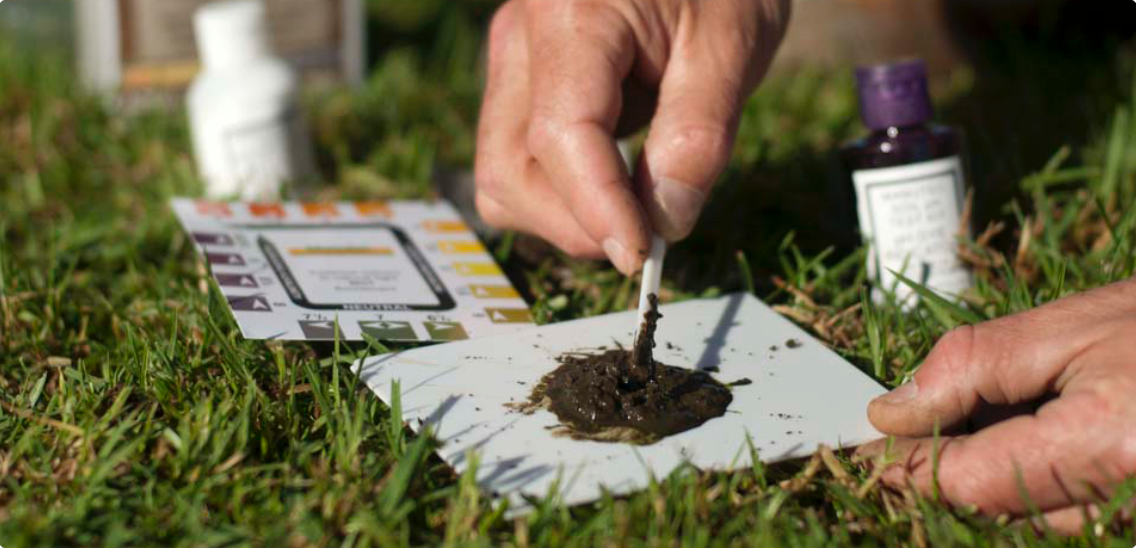
• Conduct a soil test to determine nutrient needs to make sure you are purchasing the correct fertiliser for your lawns needs!
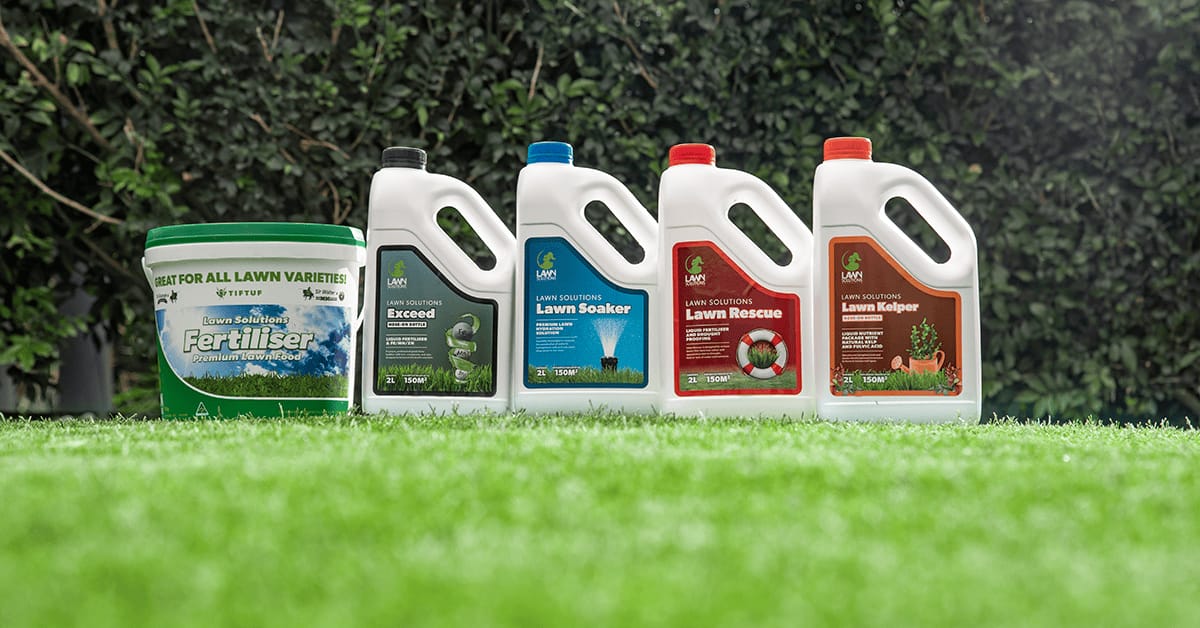
Choosing the Right Lawn Fertiliser
Synthetic Fertilisers are manufactured from minerals, gasses from the air and inorganic waste materials where as Organic Fertilisers are derived from natural sources such as microbes, organic waste and other similar materials.
Slow release fertilisers make nutrients available to your lawn for an extended period for up to two months whereas a quick release fertiliser is going to make nutirents available for a period of approximately two weeks. It’s very important to use slow release fertiliser during the growing seasons.
Choosing the right fertiliser for your lawns needs:
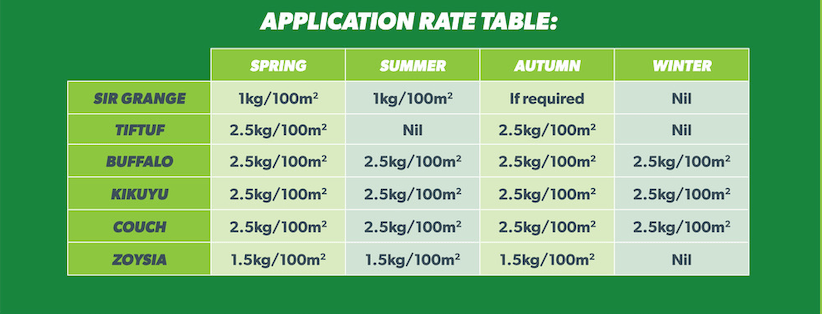
- Determine your turf variety
- Determine your soil quality
- Choose the right feriliser nutrients for your lawn, common nutrients:
Nitrogen
Postassium (K)
Phosphorus
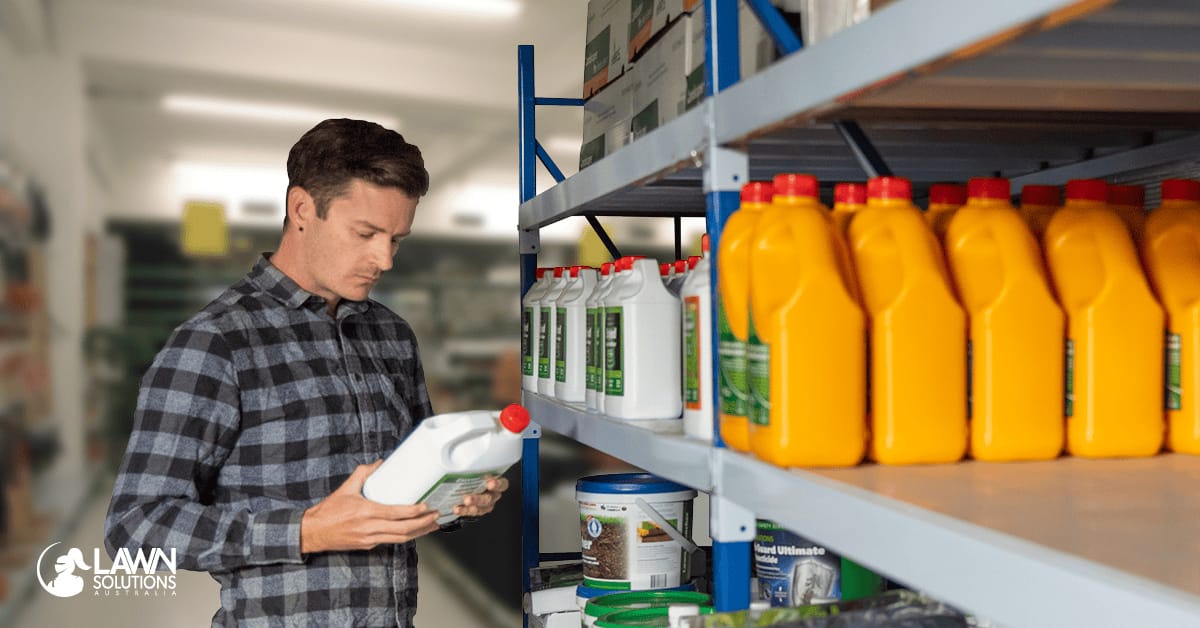
- Talk to the turf experts! Not sure on what fertiliser to use for a healthy lawn? Reach out to our friendly staff for advice!
Types of Fertilisers
There are 2 main types of lawn fertilisers available on the market, granular and liquid fertiliser.
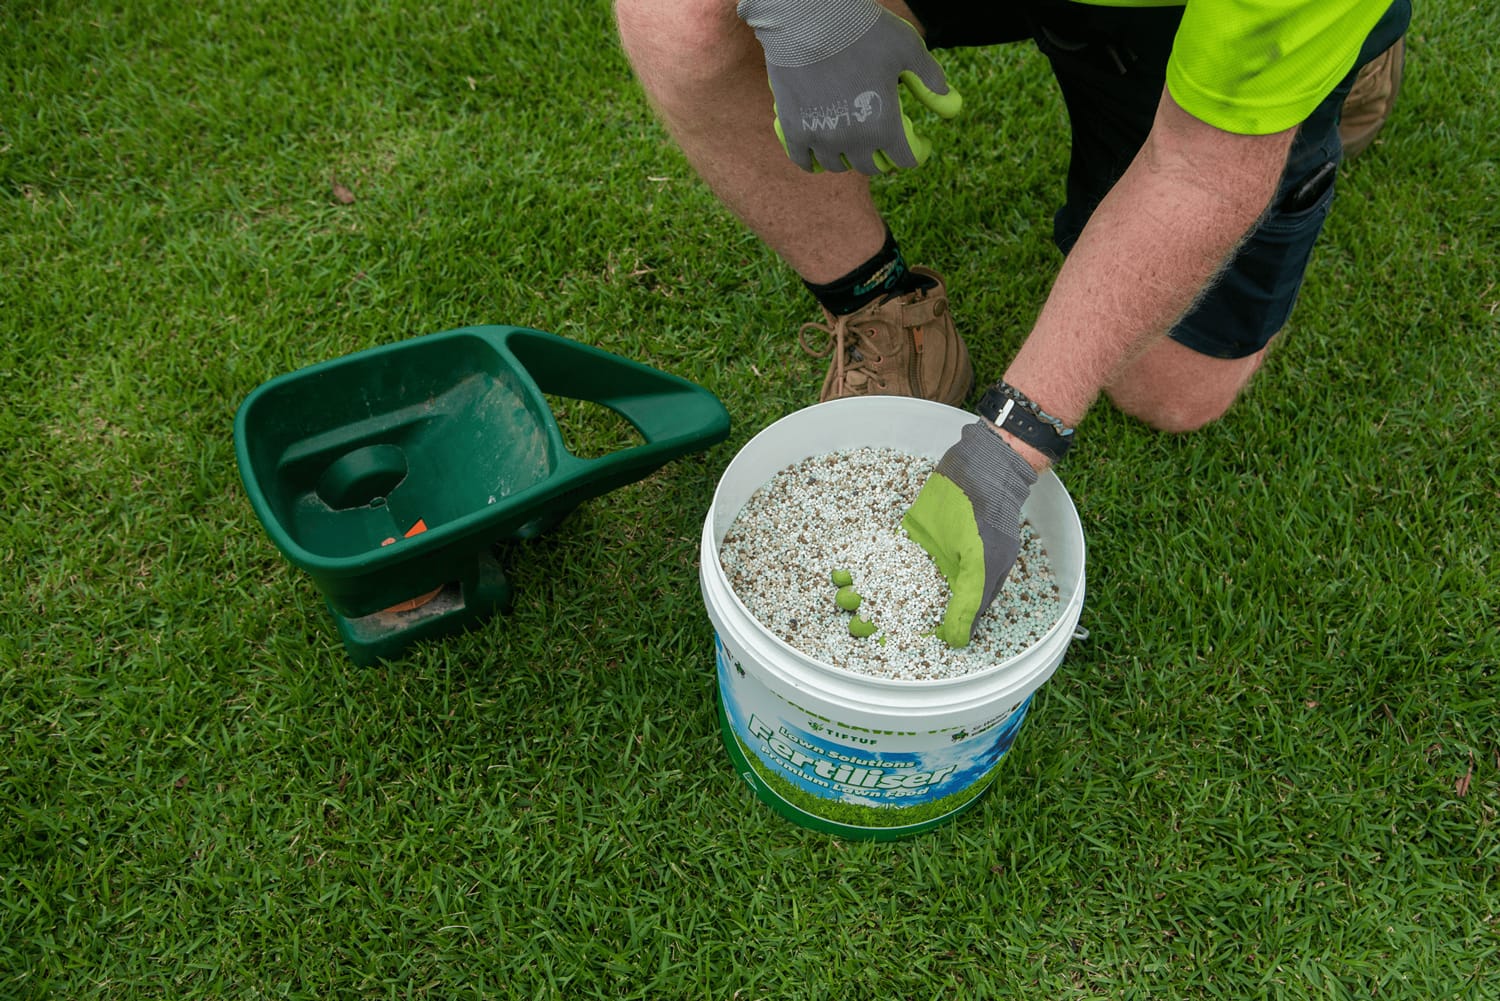
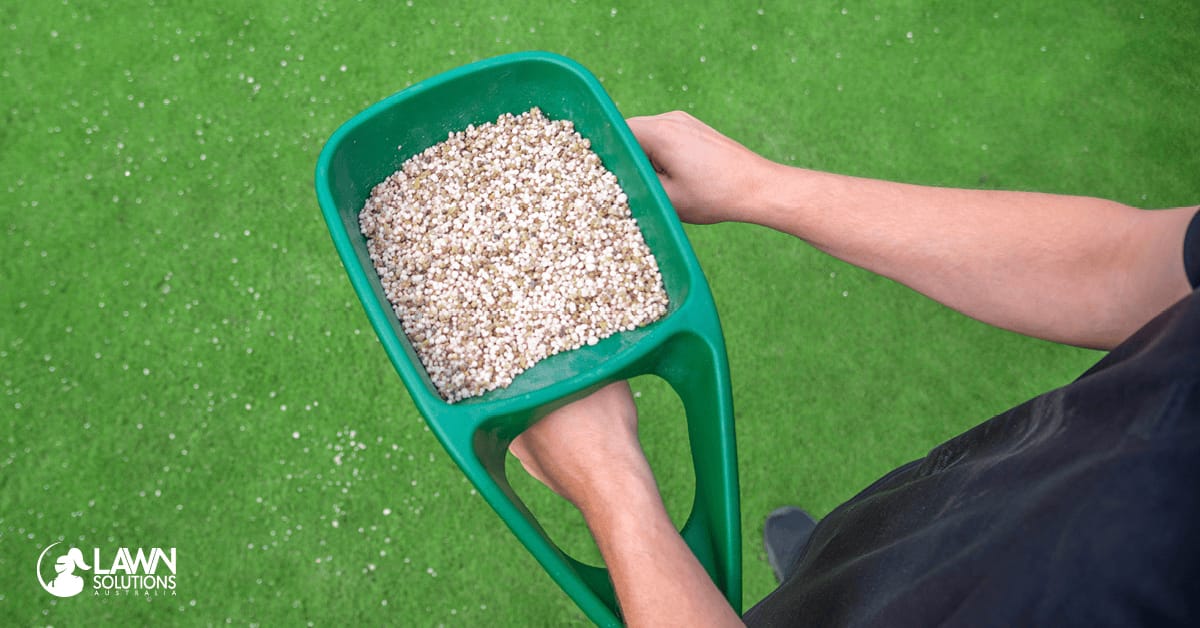
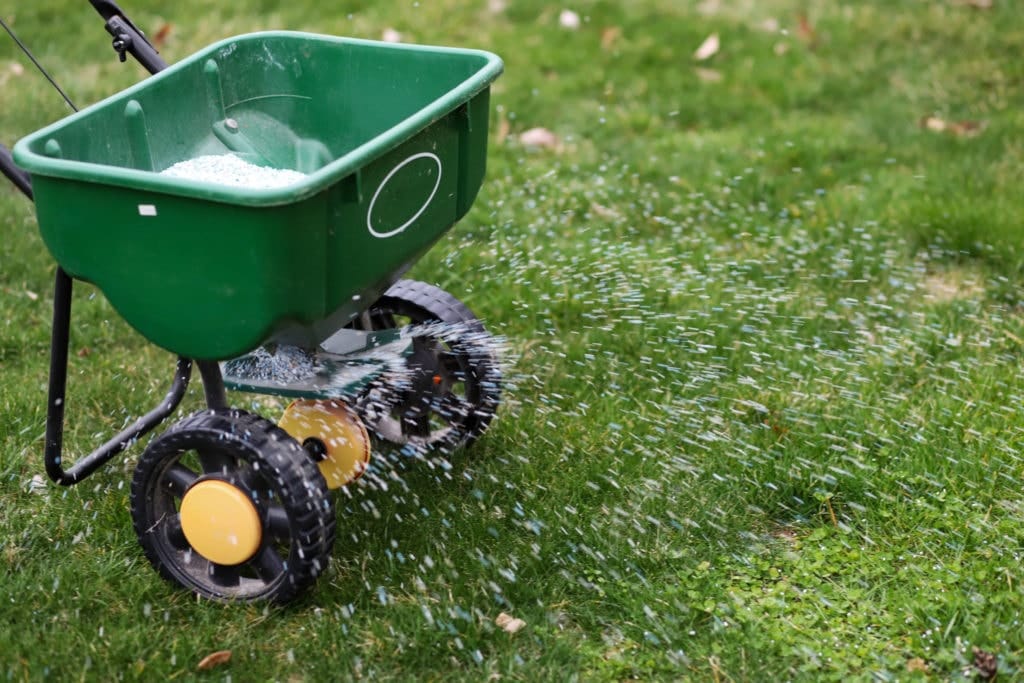
Granular Fertilisers
Granular Fertilisers are the easiest and most popular option to use. Granular products to take longer to be absorbed by your lawn but usually will release the nutrients over a longer period of time.
Always read the labelled rates and ensure you work out the correct application rate for your lawn size. The most important thing is to spread the fertiliser evenly and cover the area as best you can.
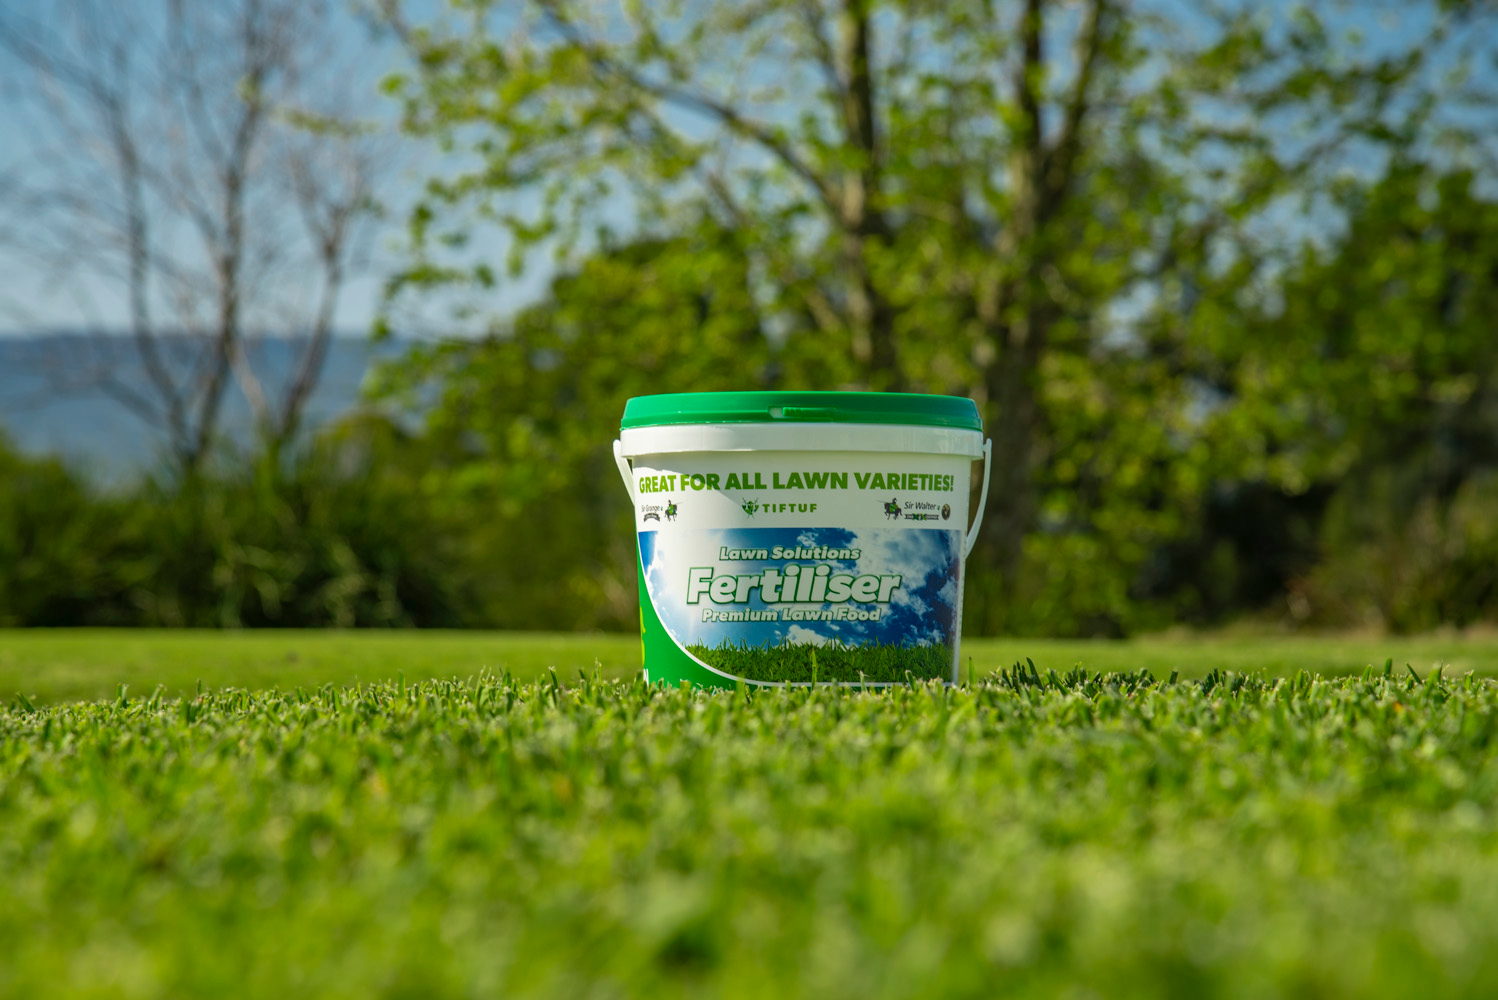
Lawn Solutions Fertiliser Premium Lawn Food is a professional blend of both slow and fast release granules containing all the essential nutrients and trace elements for all lawn types.
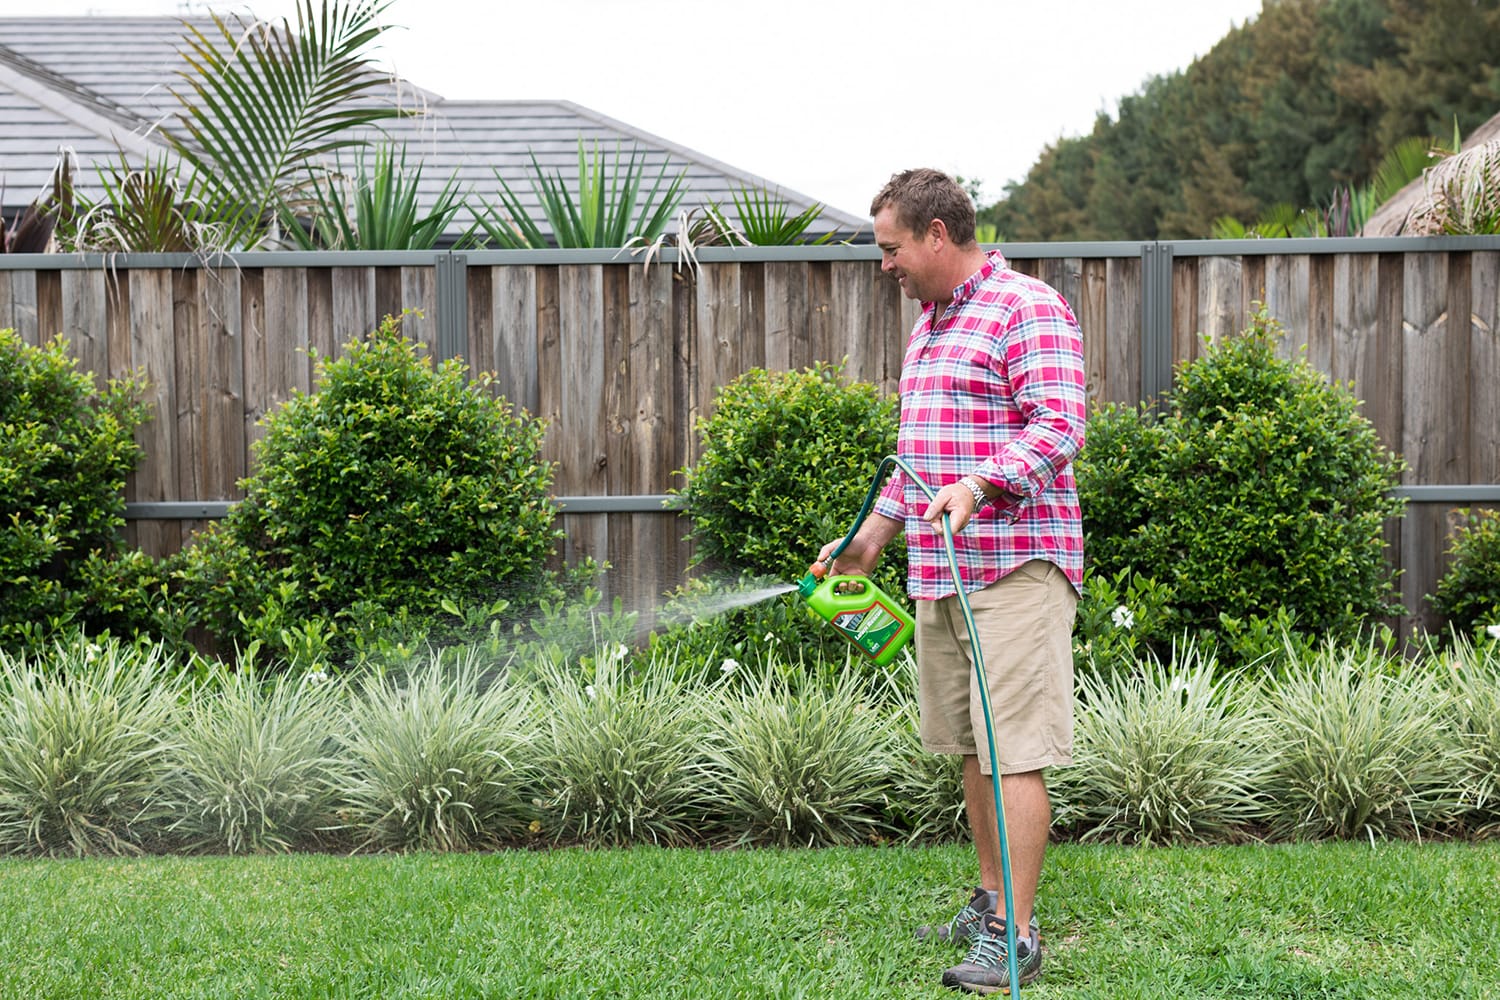
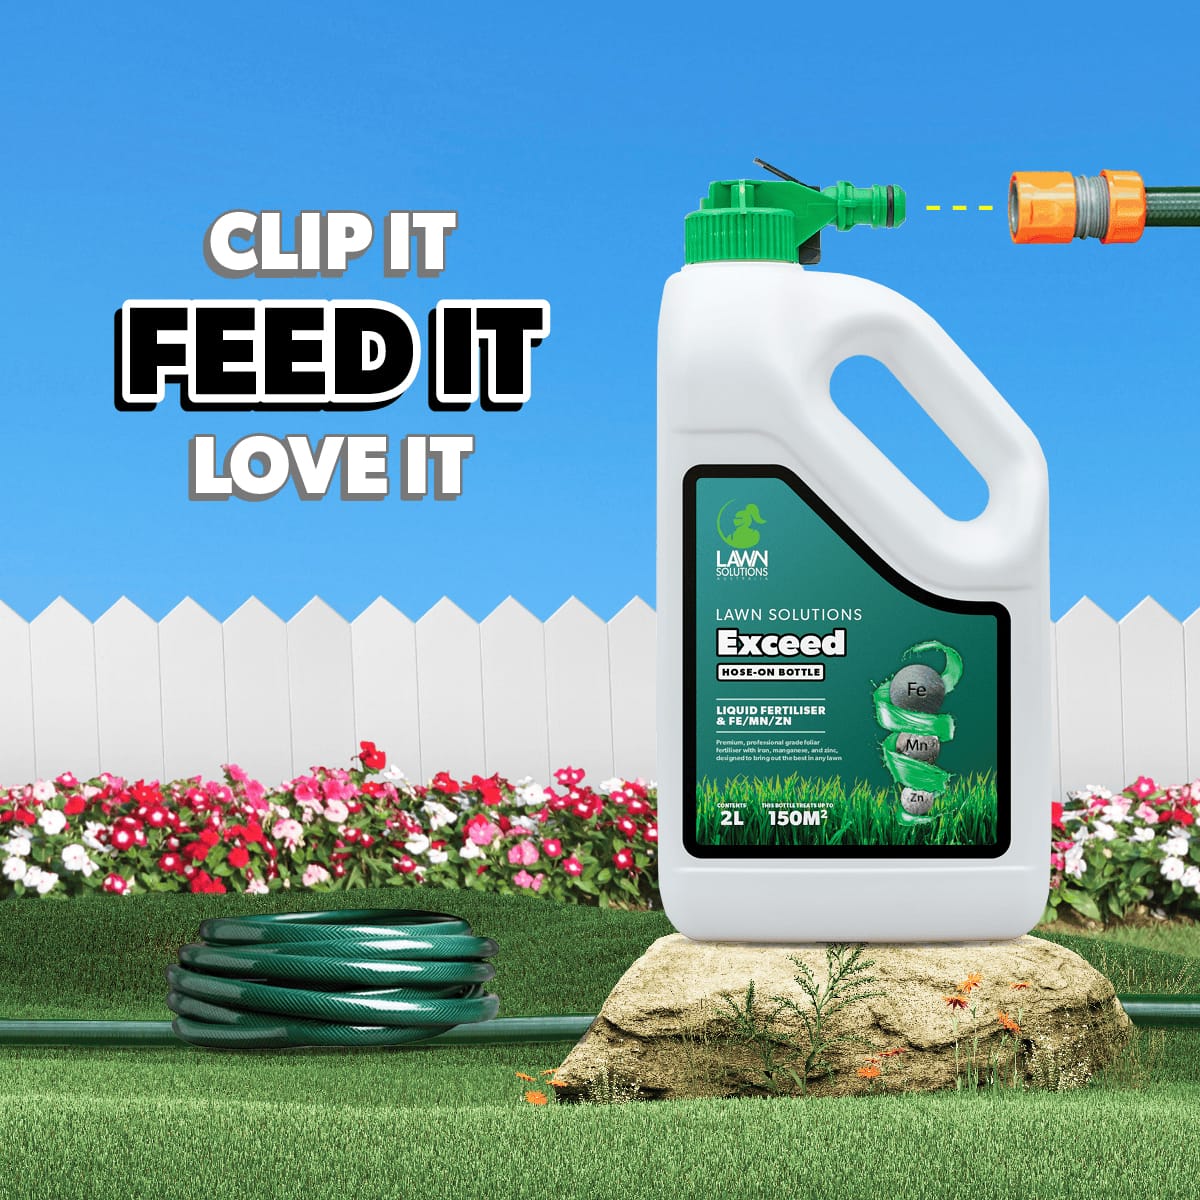
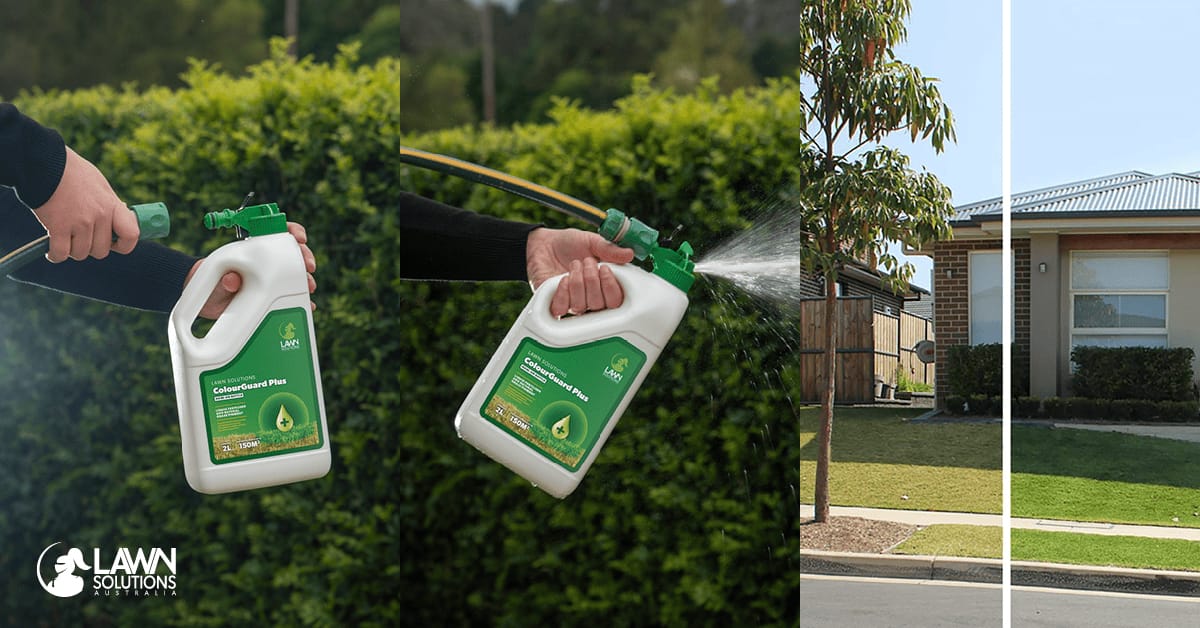
Liquid Fertiliser
Liquid Fertilisers work faster than granular fertiliser as they are applied directly onto the leaf and are absorbed quickly. This will help give your lawn a quick but short boost!
Again, always read the labelled rates and ensure you work out the correct application rate for your lawn size. The most important thing is to spread the fertiliser evenly and cover the area as best you can.
Exceed is a premium, professional foliar fertiliser designed to bring out the best in any lawn.

Tools and Equipment for Fertilisation
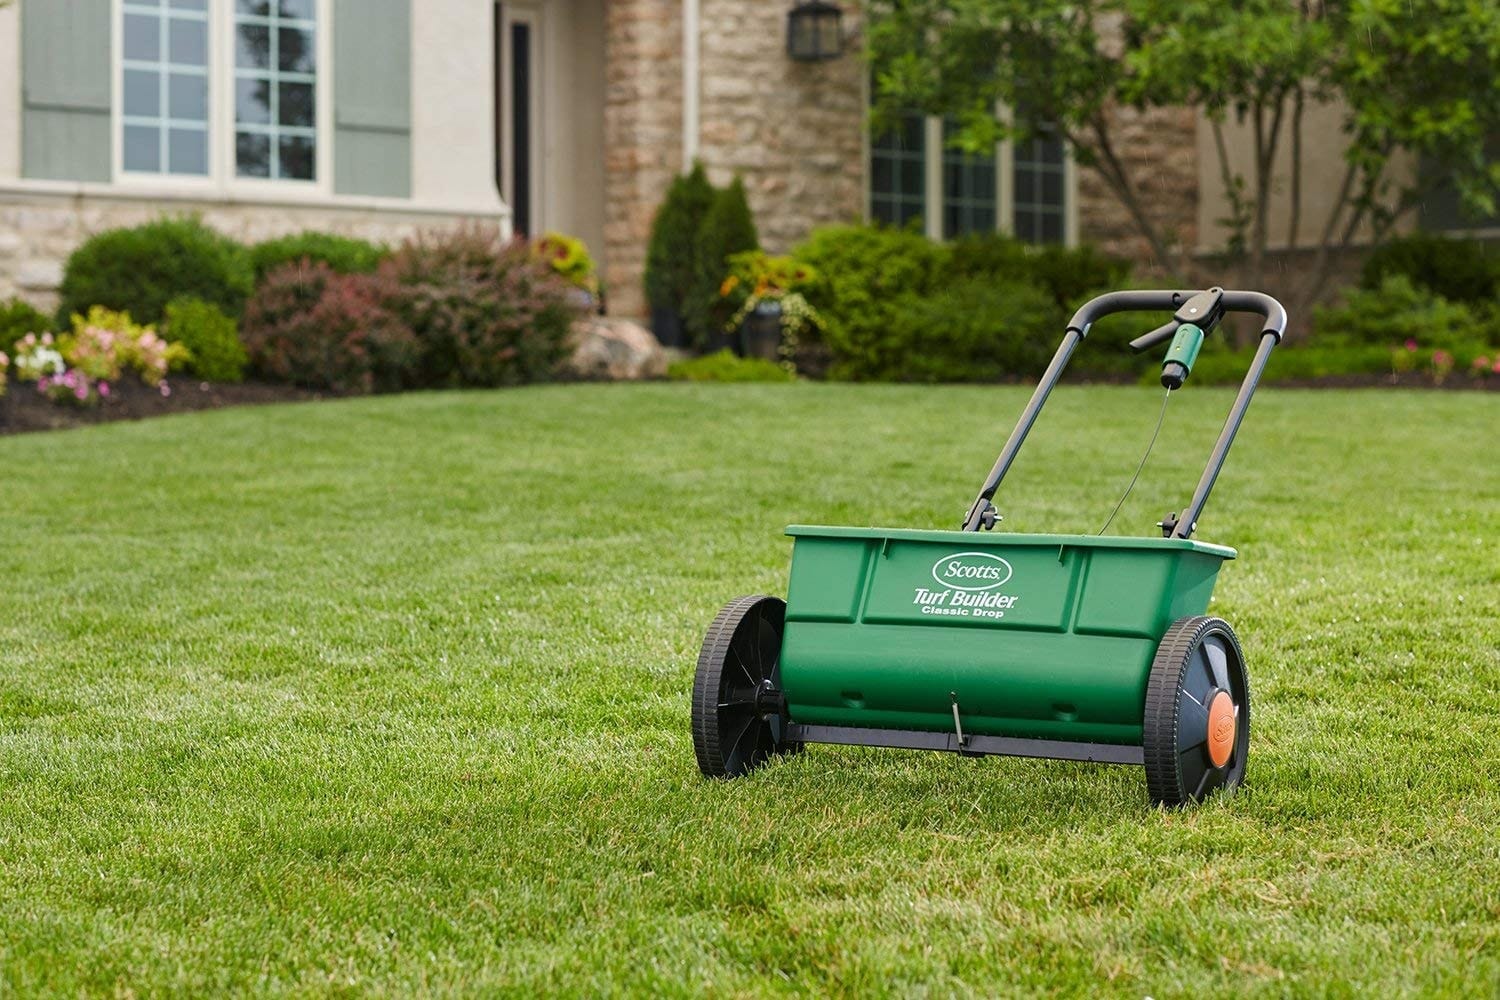
Broadcast VS Drop Spreaders
Broadcast Spreaders scatter the lawn fertiliser over a large area in a fan-like pattern. Broadcast Spreaders are best for covering large areas of lawn efficiently.
Drop Spreaders are gravity-fed and drop the fertiliser straight downward in neat rows with a great deal of accuracy. These are easy to use and control and can make it easy to work in around obstacles and tight spots. However, there is a danger of stripping if you don’t overlap your wheel paths.
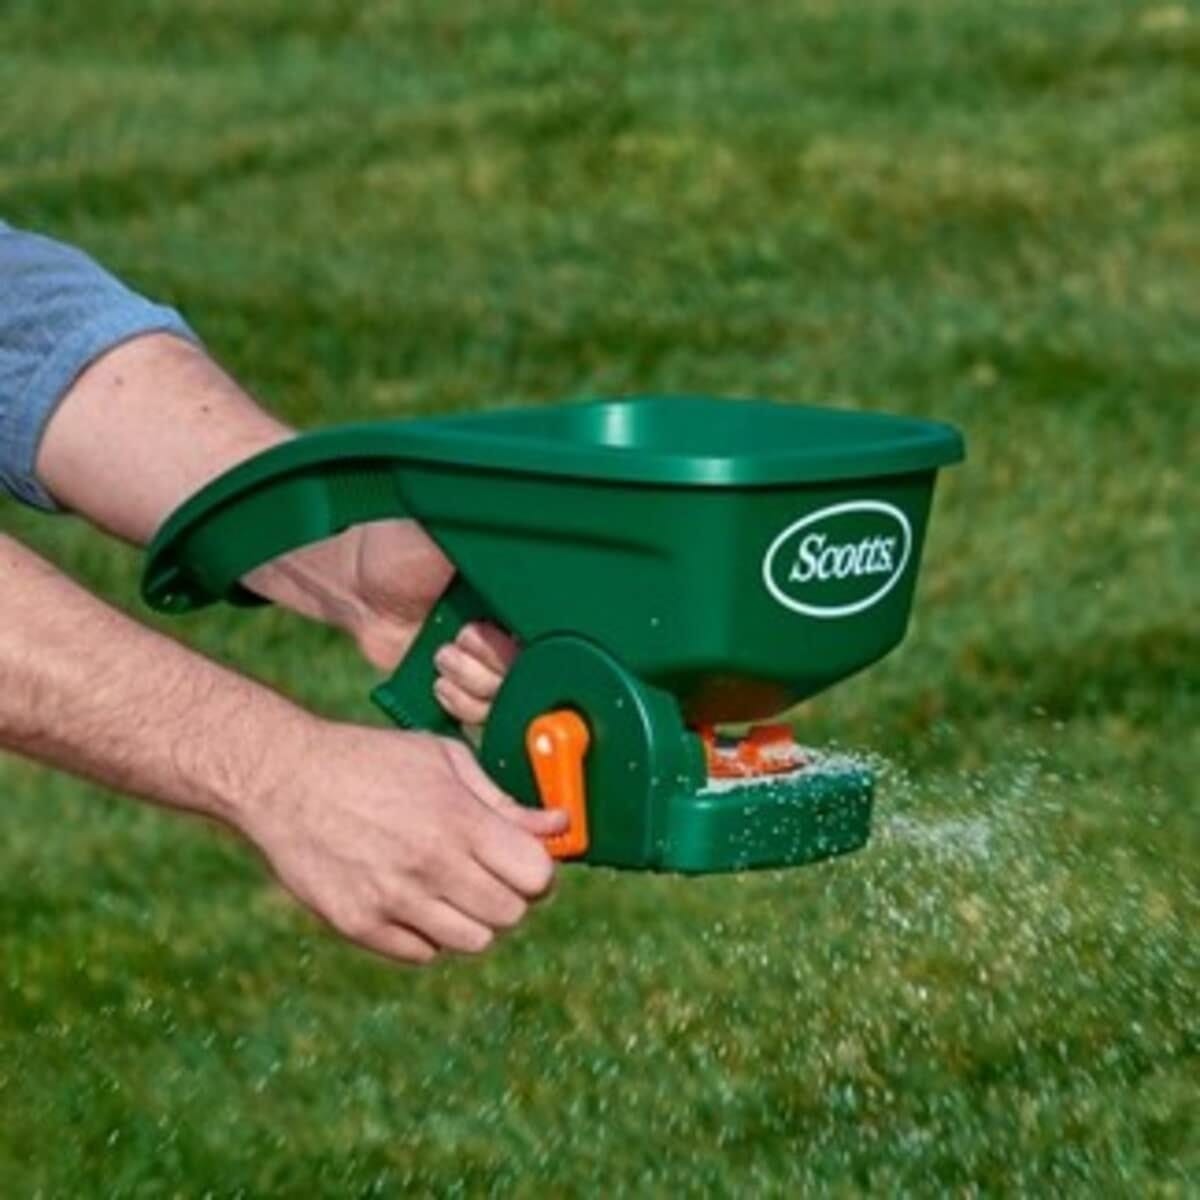
Hand-held Spreaders
Hand-held spreaders are ideal for those lawns that are too small for even the smallest of push mowers! Hand-held spreaders can hold approximately 300m2 of fertiliser and it provides an even dispersal and is very simple to use.
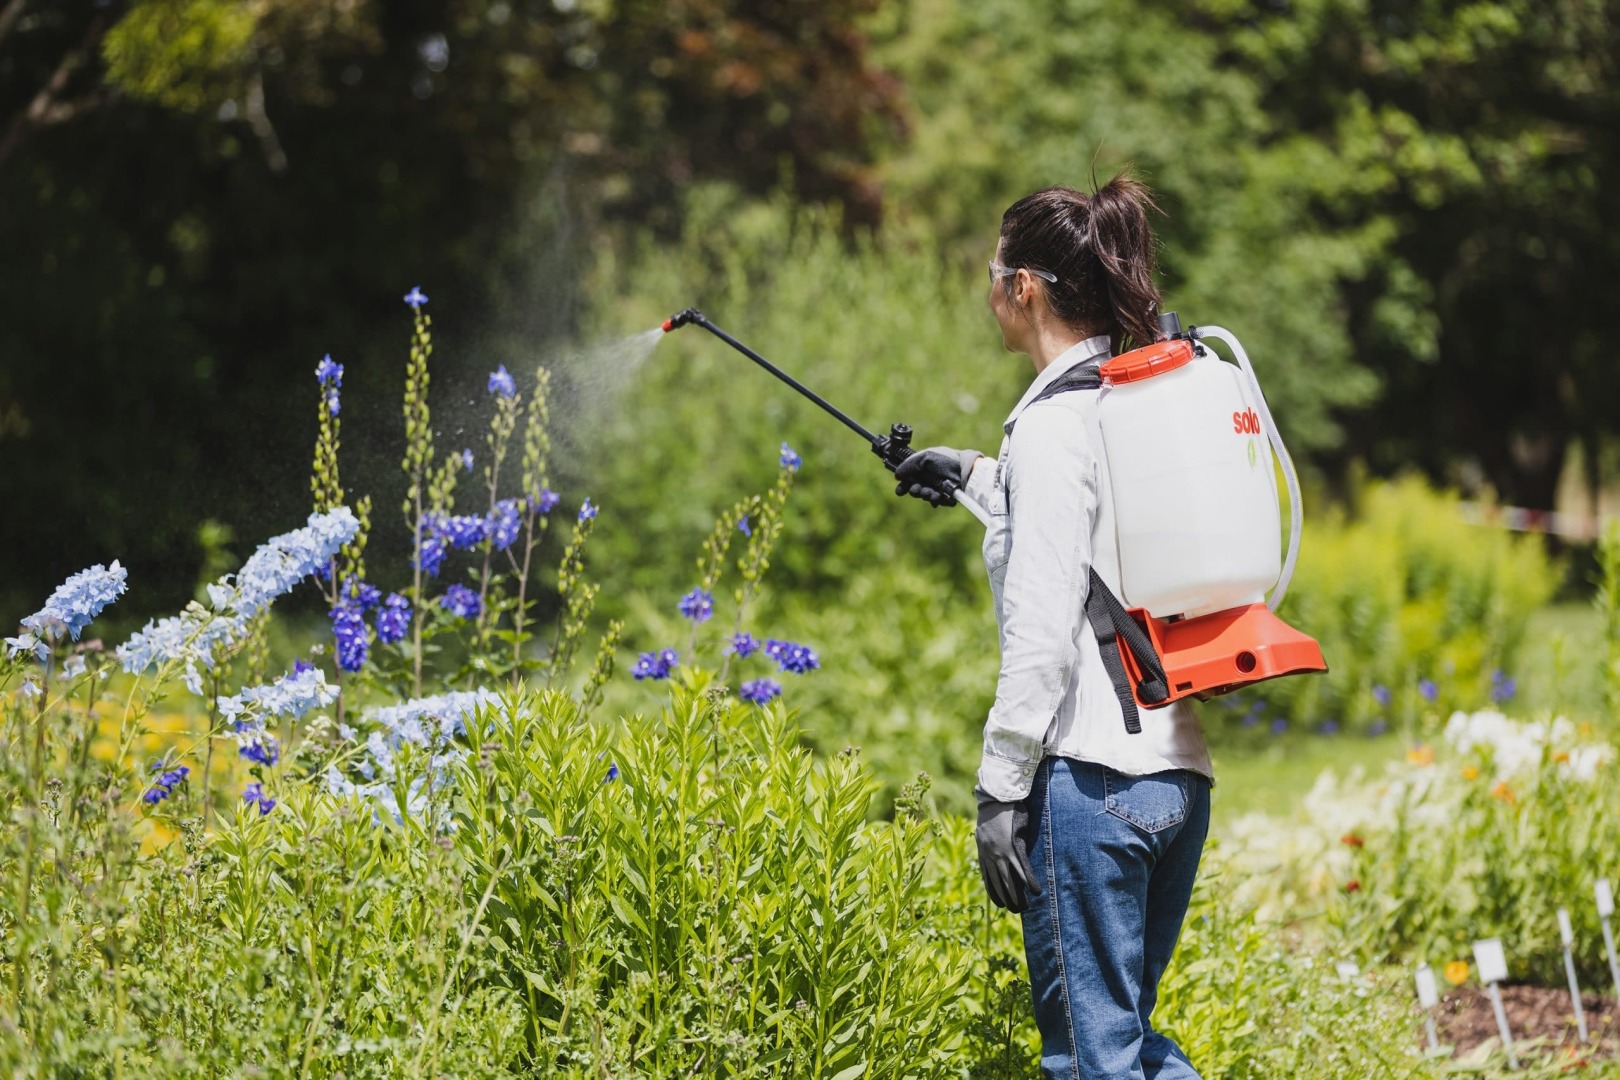
Backpack or Knapsack Sprayers
When working with liquid fertilisers, you’ll need a sprayer. We’d recommend a knapsack or backpack sprayer. These are easy to use, especially the backpack sprayer as you don’t have to carry around the knapsack whilst you apply!
Always make sure to wear gloves when handling any fertiliser chemicals & if needed, a mask for ventilation.
Step-by-Step Fertilisation Process
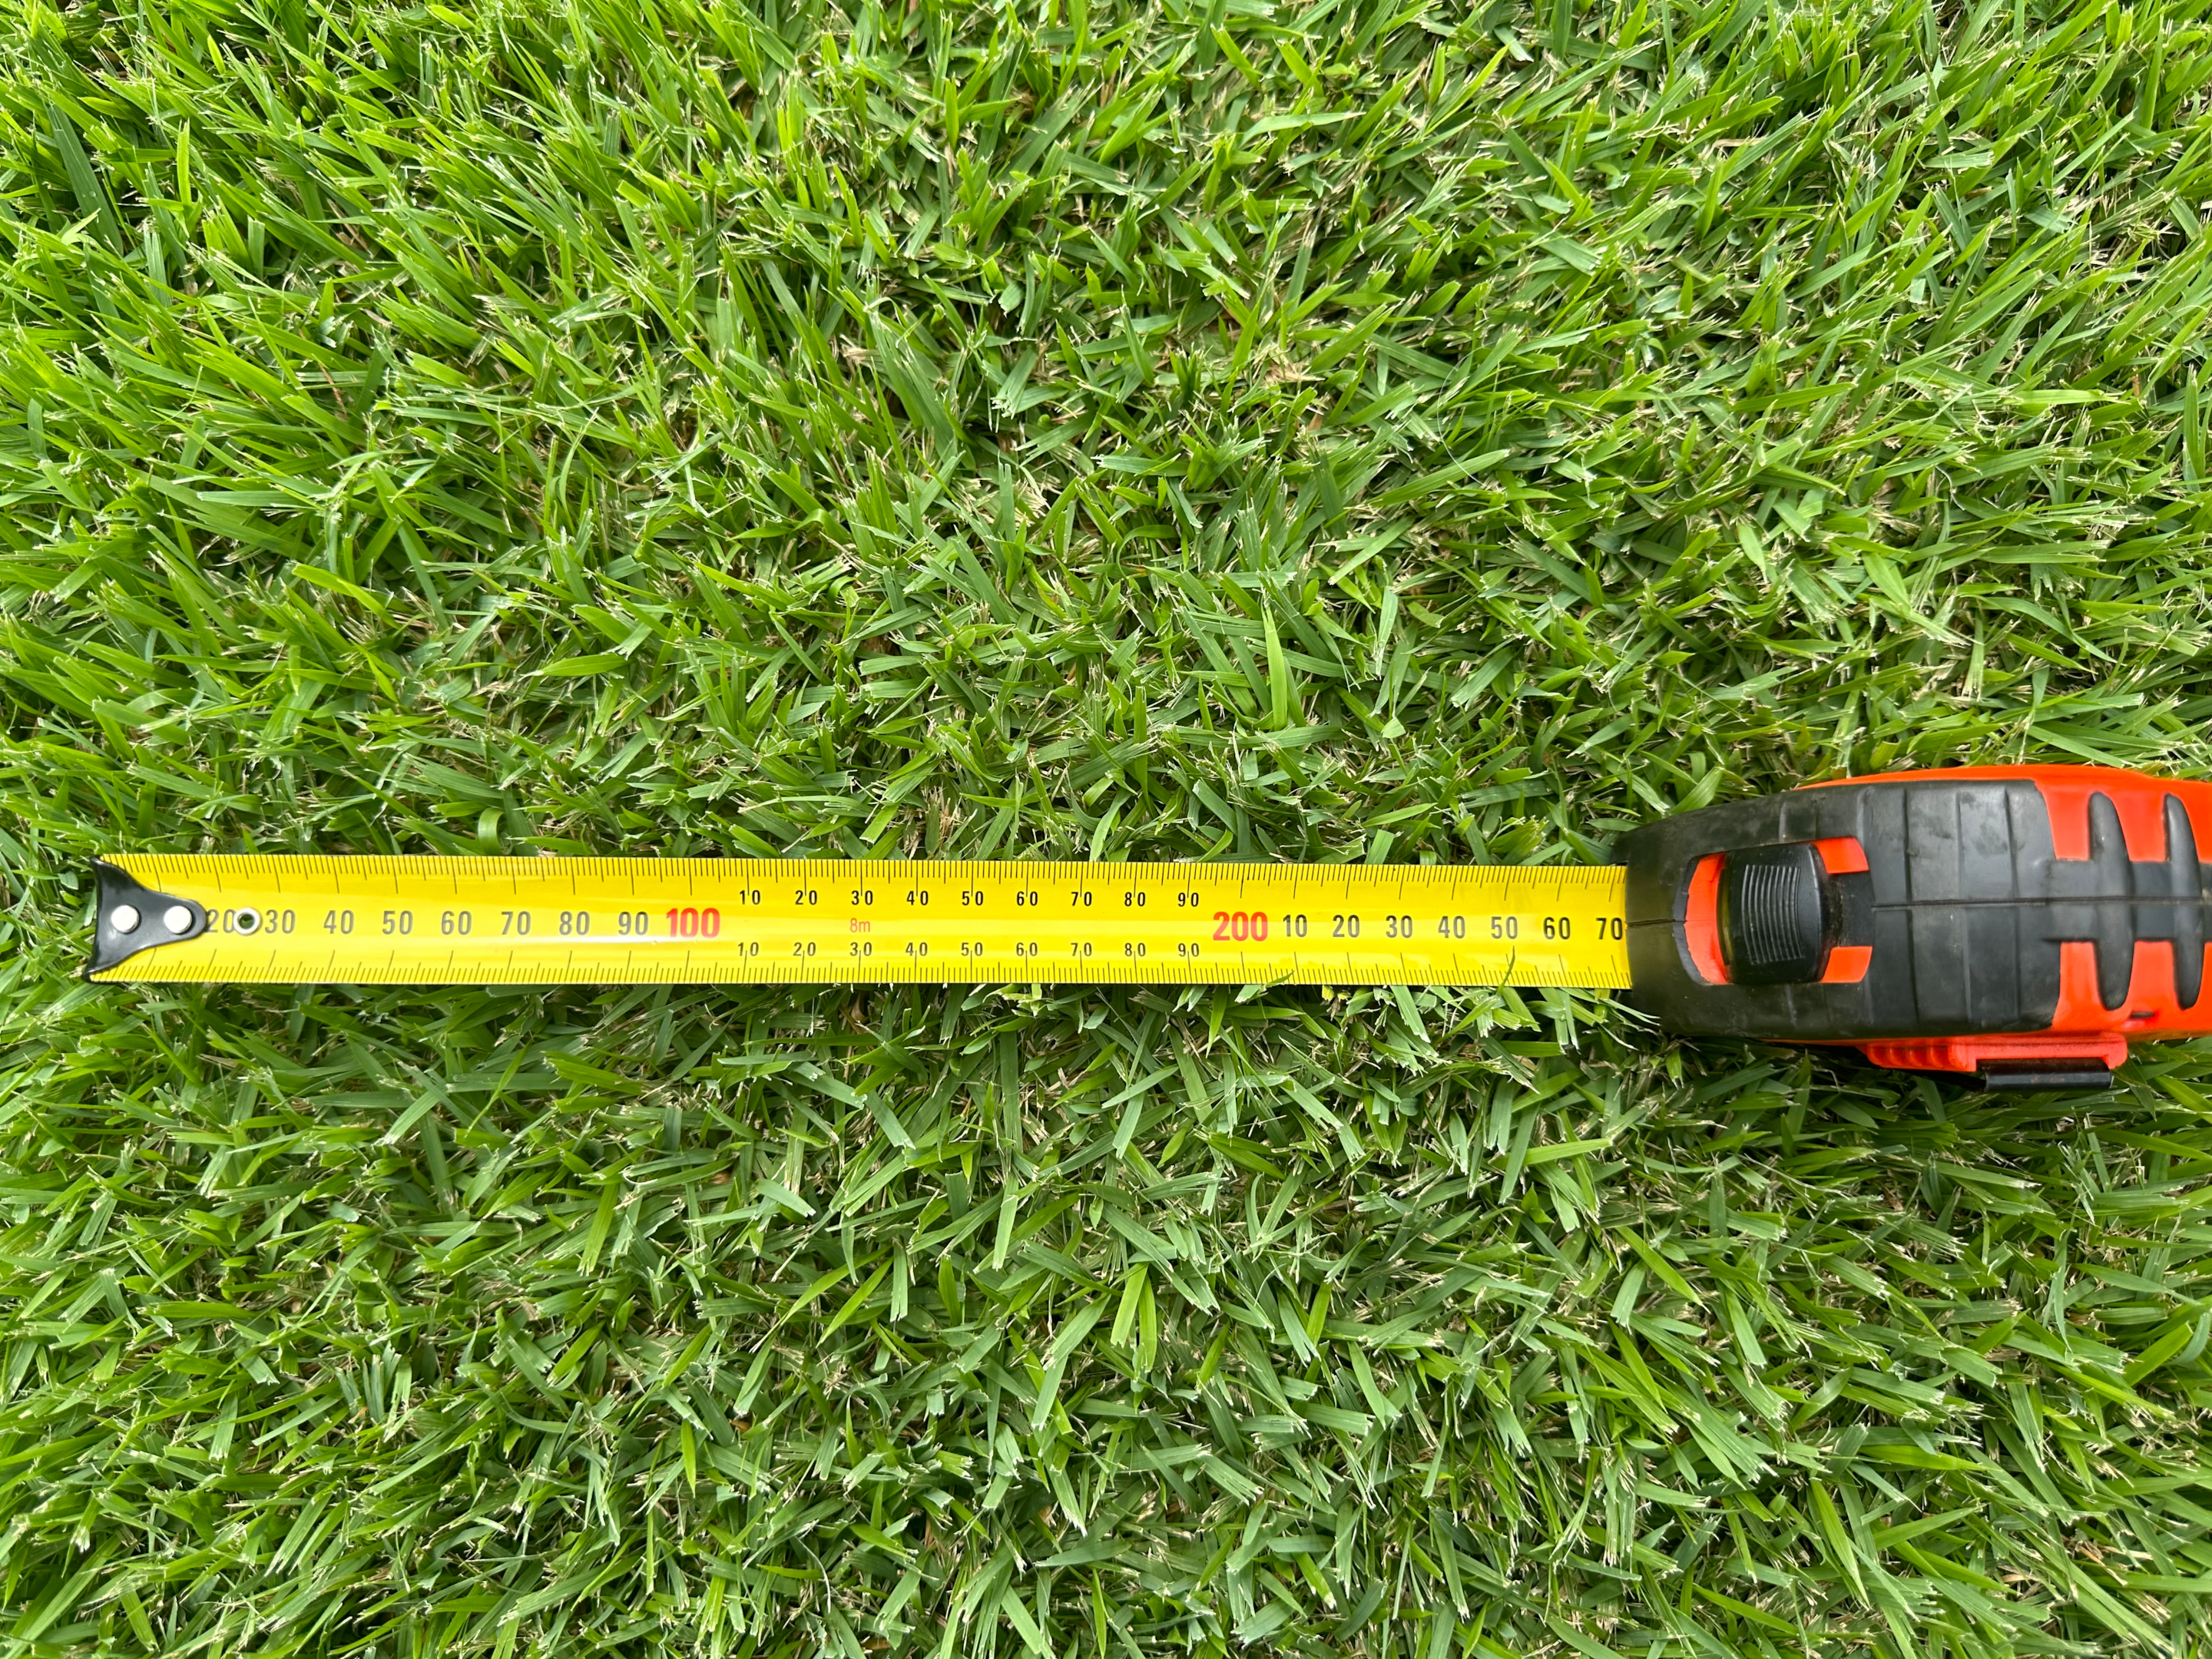
Make sure to measure out your lawn size to ensure you apply an even amount of fertiliser and at the correct rate.
We always recommend using a fertiliser spreader to apply granules to ensure a smooth and even application to cover the area as best you can.
We recommend walking up and back, then across in the opposite direction to get the best coverage.
Always keep an eye on how wide you are spreading the granules to ensure you dont double up and burn your lawn!
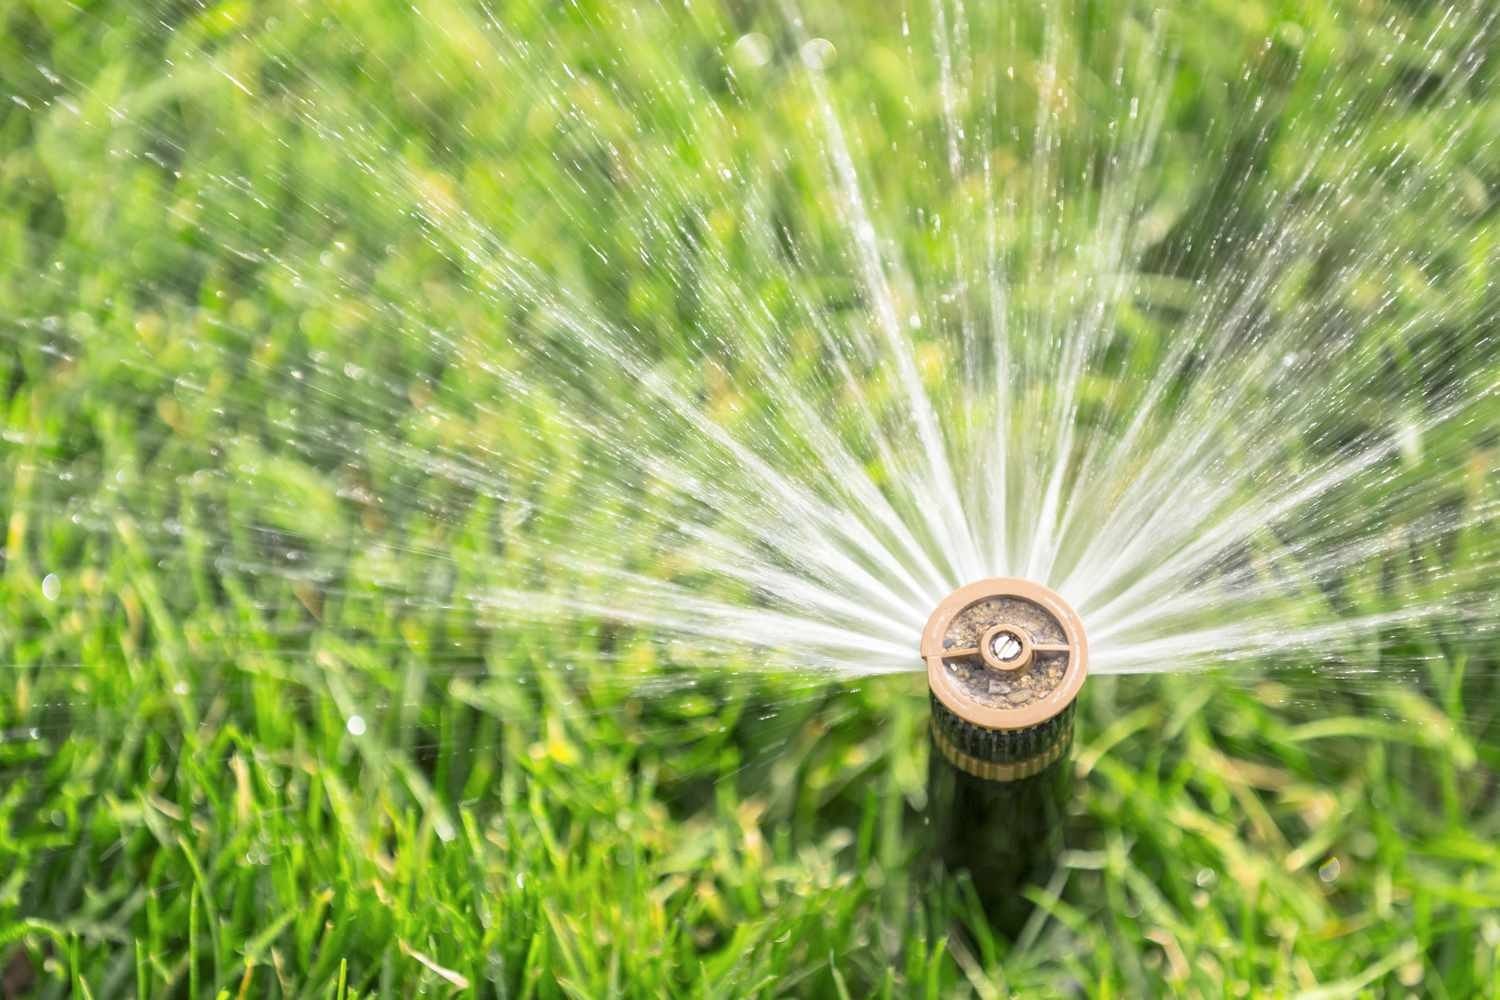
Time to water!! This is an important step to help avoid burning on your lawn. Not all fertilisers need to be watered in, but the majority do. If you are unsure, read your products label or check with the product manufacturer. Read more below about Irrigation programming.
Post-Fertilisation Lawn Care
The following information is a guide only. Evaporation and transpiration rates can vary considerably depending on soil type, grass variety and microclimate.
Water requirements vary throughout the year and the basic rule is the hotter the temperature the more water is required to replace soil moisture loss via evaporation and plant usage.
Some of our turf grasses go dormant in the winter months and water requirements is very low however our winters can still be mild to warm and usually drier hence evaporation can still take place so watering may still be required. The following graph represents average water requirements per week for the months indicated.

Rain fall events will replace the need to run irrigation during those periods. Without soil moisture probes it can be difficult to judge when is the best time to commence your watering schedule.
Irrigation Programming
Irrigate between 6pm and midnight or throughout the night until 8am if you have long program times or events limiting night time irrigation. This will help reduce evaporation losses and minimise risk of disease. Applying more irrigation than is required will only waste water as the turf grass cannot use it. The exception to this rule is during periods of prolonged drought sub soil moisture can be lost and it is desirable to try to re wet the sub soil and some of our grasses and plants tap into this sub soil especially our drought tolerant varieties that have massive root systems. The irrigation controller should be set or adjusted each month to reflect the requirements in this guide.
Less frequent watering with longer run times will provide deeper water movement through the profile. This will encourage deeper root systems and a plant that is more adaptable to drought. As a guide water once per week in winter and twice a week in summer, adjusting the run times in line with chart above. Heavy or compacted soil may prevent water infiltration in one application so cycle the irrigation to provide multiple run times through the night to apply the required amount.
To calculate your sprinkler run times it is best to measure the amount of water applied utilising the catch can method. Running off the manufacturers guide is ok but there are variables to consider like available pressure and flow. Nozzle size, sprinkler lay out and wind all play a part in the final precipitation. The catch can method is where rain gauges or open cans (cans must be open on the top and sides even) are placed on the field between sprinklers. An average can be calculated, and a run time programmed to provide the required amount of water.
Common Fertilisation Mistakes to Avoid
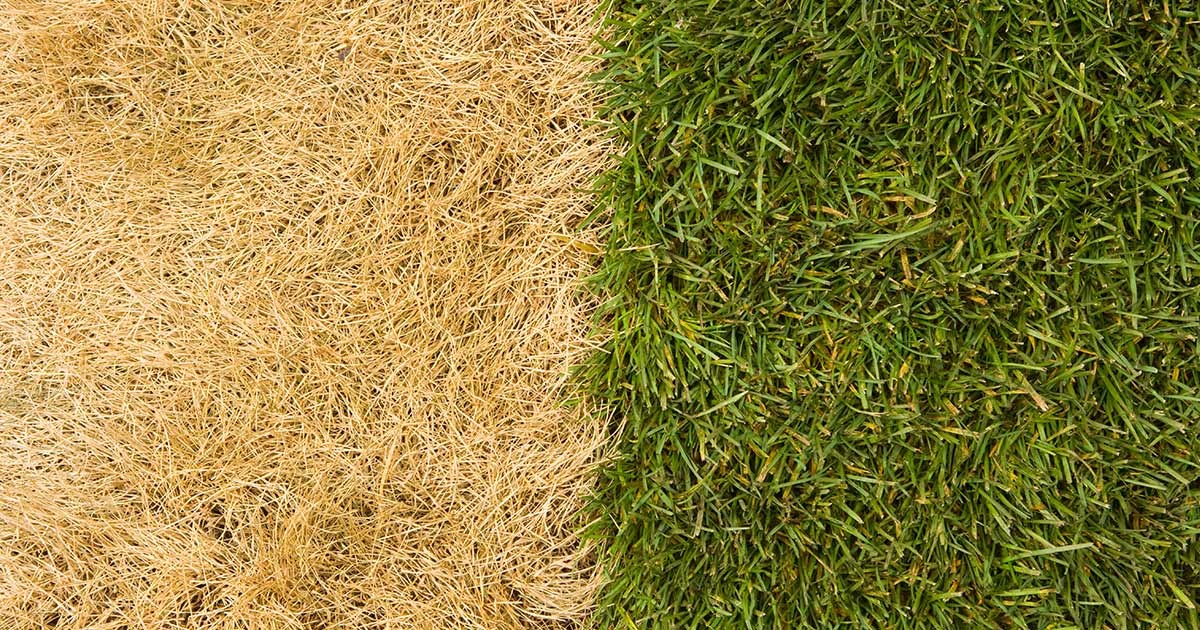
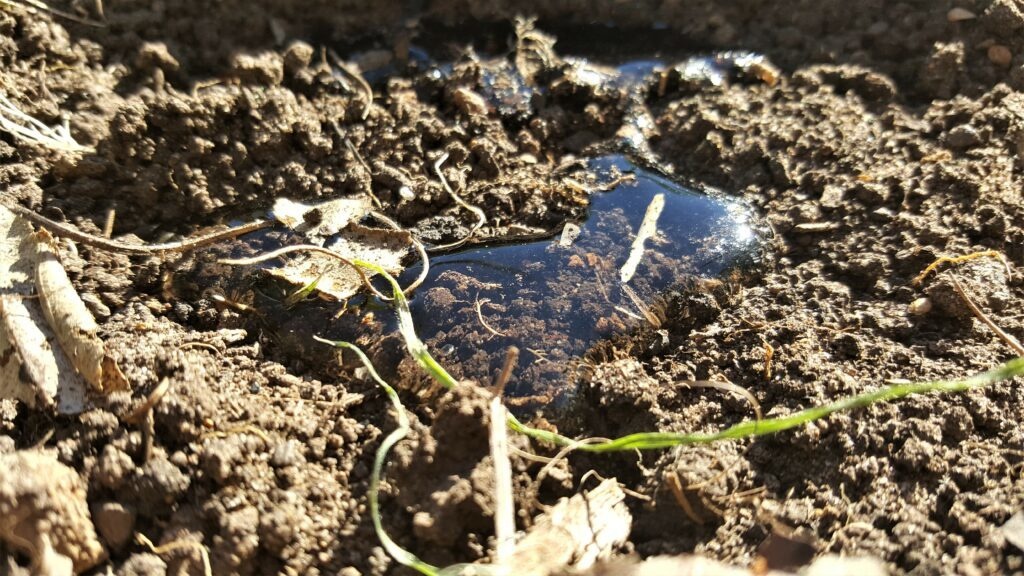
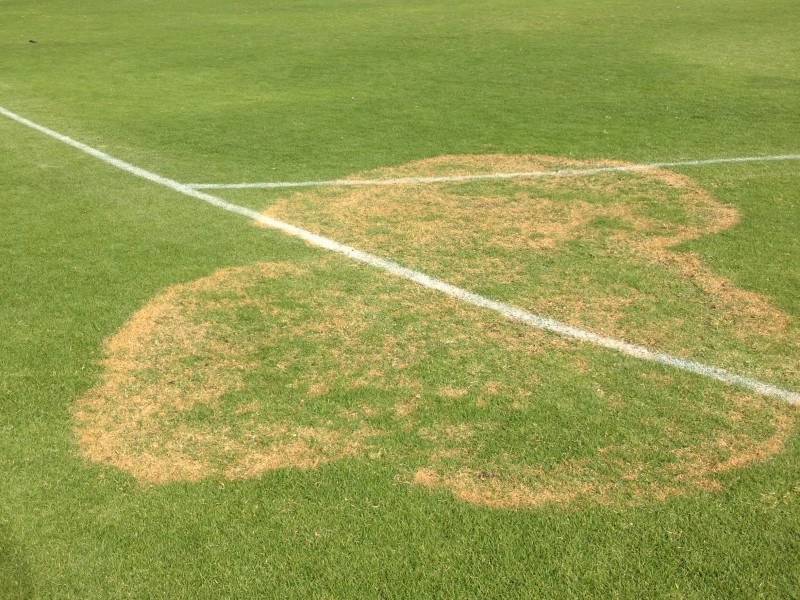
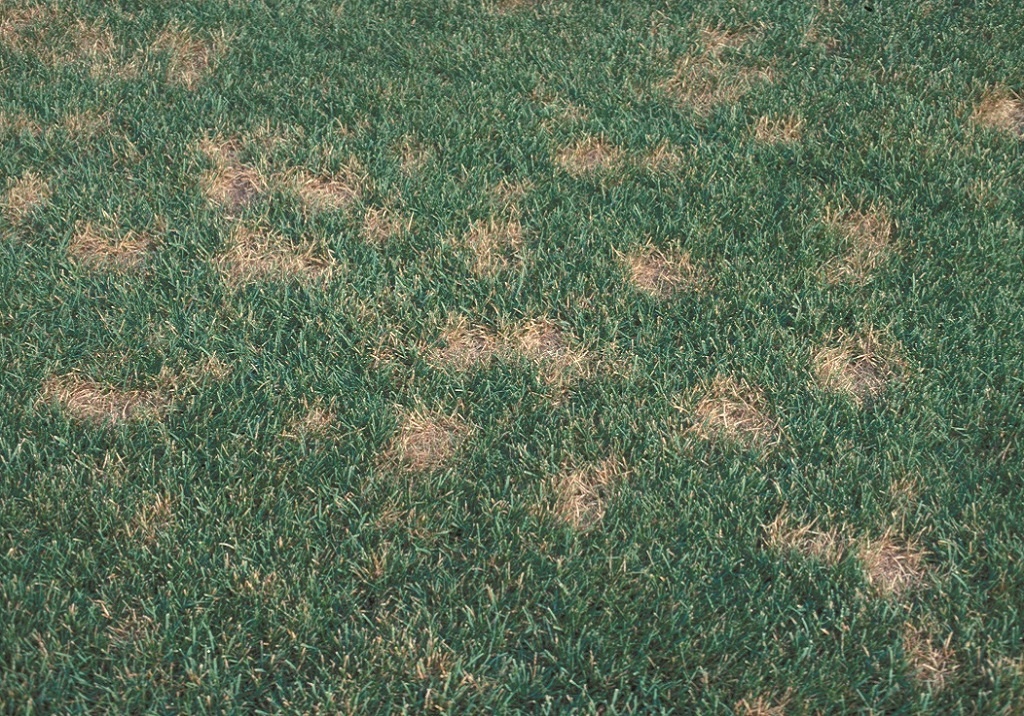
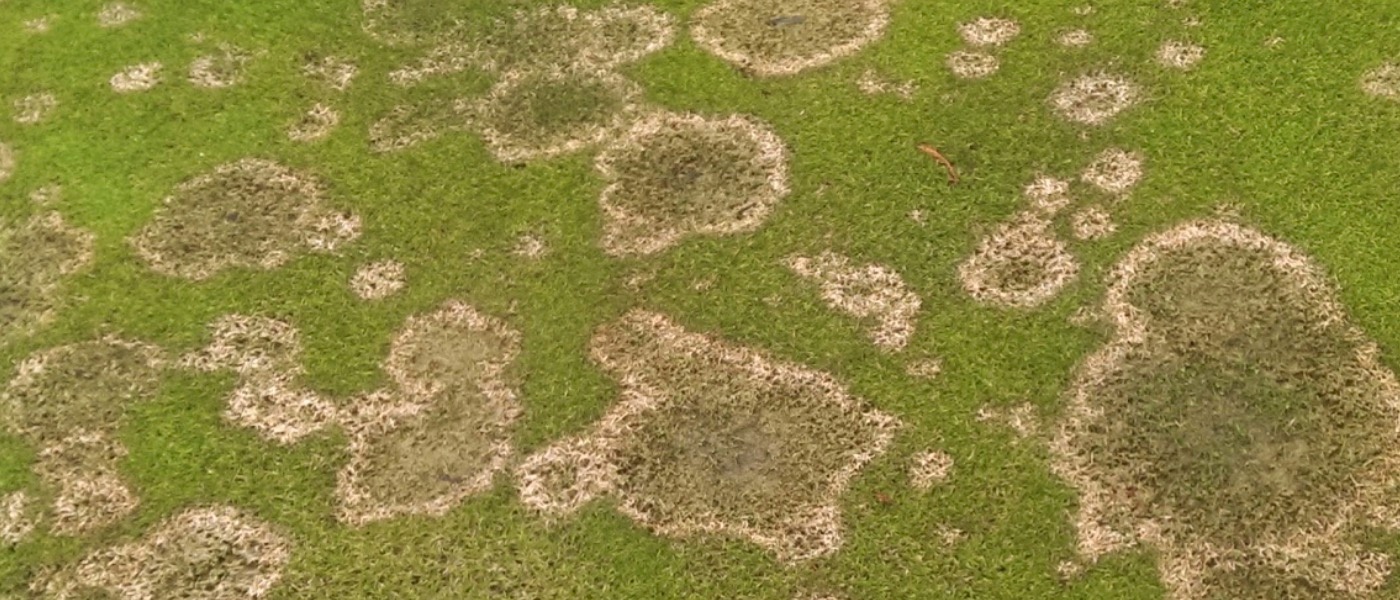
- Over-fertilising your lawn can cause some major issues! It will cause sudden plant growth, paticularly leaf growth & thatch. This issue with this is that the roots will not experience the same amount of rapid growth and will then be unable to supply the amount of water and nutrients your lawn needs.
- Under-fertilising can reduce growth and paleness of colour within your lawn! Make sure to reach the labelled rates to ensure you are applying the correct amount!
- Applying fertiliser at the wrong time of day can be detrimental to your lawn! Avoid burning your lawn and apply fertiliser in the late afternoon or early morning. Avoid applying fertiliser during the middle of the day.

FAQs
How soon can I mow my lawn after fertilising?
It’s best to wait at least 24 to 48 hours after fertilising before mowing your lawn. This allows the fertiliser to settle into the soil and the grass to absorb the essential nutrients effectively.
Can I fertilise my lawn before a rainstorm?
Light rain can help fertiliser absorb into the soil, but a heavy rainstorm can wash away the fertiliser before it has a chance to be effective. Ideally, fertilise when light rain is expected or water the lawn yourself after application.
What should I do if I accidentally over-fertilise?
If you suspect over-fertilisation, water your lawn thoroughly to help dilute and wash away excess fertiliser. Monitor your lawn for signs of nutrient burn and avoid additional fertilisation until the grass recovers.
Conclusion
Remember to always follow labelled rates and ensure you are purchasing the right fertiliser for your lawns needs! Soil pH tests can be your best friend when working out what amendments and fertilisers your lawn really needs!
A great way to keep on top of your lawn fertilising would be to create yourself a little go to guide depending on your lawn type! Always feel free to reach out to our friendly staff with tips on the best fertilisers to use and when to use them!!